
Resin Driveway Installation Step-by-Step Guide
To install a resin driveway, begin with a thorough site assessment and precise measurements. Prepare the base by excavating and compacting appropriate materials. Next, mix the resin with aggregates, ensuring a consistent texture. Spread the mixture evenly and level it using a float. Allow 24 to 48 hours for curing, avoiding foot traffic during this period. Ensure proper drainage by creating a slight gradient and selecting the right aggregate. Stay tuned for tips on enhancing the driveway’s aesthetic appeal and avoiding common mistakes.
Key Takeaways
- Start by assessing the site thoroughly. Check the surface conditions, drainage, and any local regulations that might affect your installation.
- Prepare a solid base by excavating and compacting appropriate materials to ensure a stable foundation for the resin application.
- Carefully mix the resin and aggregates, keeping to the right proportions for a consistent blend.
- Use a trowel to apply the resin-bound mixture evenly, ensuring a smooth finish across the surface.
- Allow the surface to cure for 24-48 hours. Keep foot traffic to a minimum during this time and address any imperfections straight away for the best outcome.
Planning and Preparation
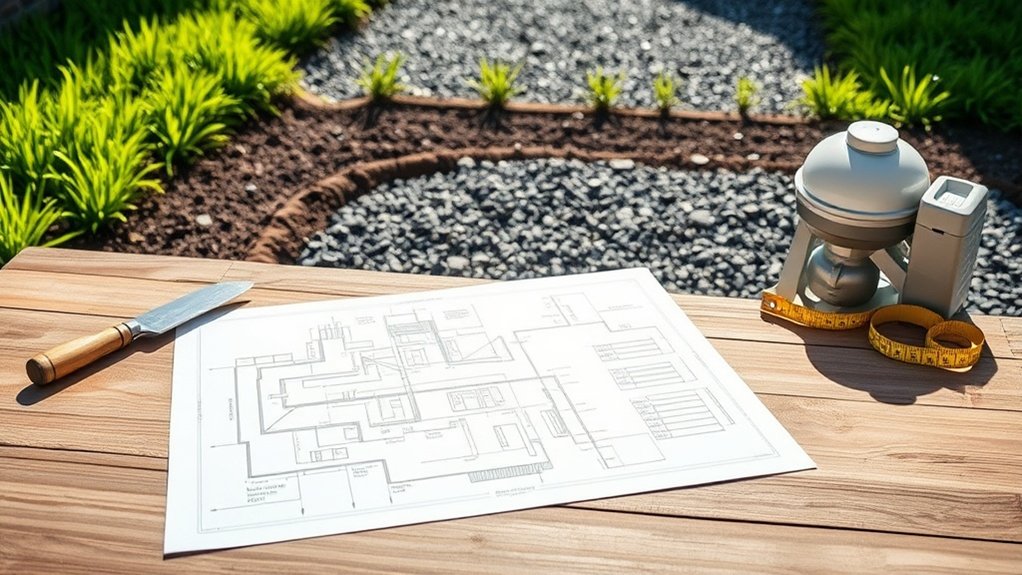
When planning your resin driveway installation, it’s crucial to begin with a thorough site assessment to ensure a successful project.
Start by checking the current surface conditions for cracks, stability, and any drainage problems. Measure your driveway accurately to determine how much material you’ll need, and consider access for machinery and deliveries. Professional installation typically takes 2 to 5 days based on size and complexity, so planning your schedule accordingly is essential. Additionally, assess the integrity of the existing surface to prevent cracks during installation.
Evaluate the slope and drainage to meet local regulations, ensuring that water flows away to prevent pooling.
Take note of the soil’s permeability and its interaction with the surrounding landscape.
Lastly, stay updated on any local planning or environmental regulations that could affect your installation.
A careful assessment of the surface is essential for creating a durable and compliant driveway that fits your needs.
Base Preparation

Base Preparation
Before installing your resin driveway, it’s crucial to carry out proper excavation and remove any debris to ensure a solid base. To establish a strong and stable foundation for the resin, ensure you utilize materials such as tarmac and compact the surface thoroughly to achieve a level and stable foundation for the resin application. This preparation is vital for a durable and long-lasting driveway, as a good base significantly enhances the overall durability and lifespan of the resin driveway.
Excavation and Debris Removal
To ensure a solid foundation for your resin driveway, it’s crucial to begin with thorough excavation and debris removal. Use suitable machinery, such as a 1.5-ton digger, to clear existing surfaces and achieve the necessary depth. Remove all vegetation, roots, and organic matter, as these can lead to instability in the future.
Employ effective excavation methods to evaluate the stability of the subsoil and its drainage properties, ensuring you have a solid base to work with. Additionally, confirm that the base is suited for either porous or non-porous application based on your drainage needs. Proper drainage considerations are essential to prolonging the lifespan of your driveway.
Once the excavation is complete, carefully remove any loose stones, rubble, and dust to avoid contamination. It’s important to dispose of debris properly, so be sure to follow local regulations for waste removal.
Finally, inspect the surface to ensure it’s smooth and free from contaminants, laying the groundwork for a successful resin installation.
Compaction and Surface Preparation
Compacting the base layer is vital for a durable resin driveway, with a minimum thickness of 100mm essential for optimal performance. Proper compaction prevents issues like sinking or cracking, ensuring a solid foundation.
Here’s how to prepare the surface effectively:
- Use a wacker plate to compact each layer of aggregate.
- Ensure the surface is completely level to avoid any bumps or dips.
- Manage moisture content; damp materials can impede compaction.
- Clear the area of debris and vegetation before starting installation.
Mixing Resin and Aggregate

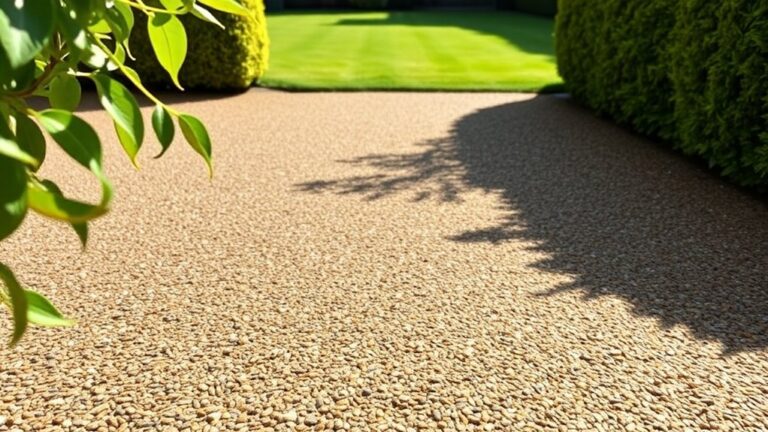
Mixing resin and aggregate is crucial for creating a durable and visually appealing driveway. Start with washed, dried gravel and sort aggregates for uniformity. It’s best to blend different stone sizes, generally using 75% larger stones (2-5mm) and 25% smaller ones (1-3mm).
| Step | Action |
|---|---|
| Prepare Aggregate | Remove dust and sort aggregates into batches |
| Mix Resin | Combine Part A, add accelerator, then Part B |
| Combine Mixtures | Add resin to the mixer, then pour in aggregates |
| Confirm Coating | Mix until all particles are evenly coated |
| Monitor Time | Keep mixing time precise for consistency |
Use proper mixing techniques and consider adding resin additives for improved durability. Remember to clean your equipment between batches to ensure quality.
Application of Resin Bound Mixture
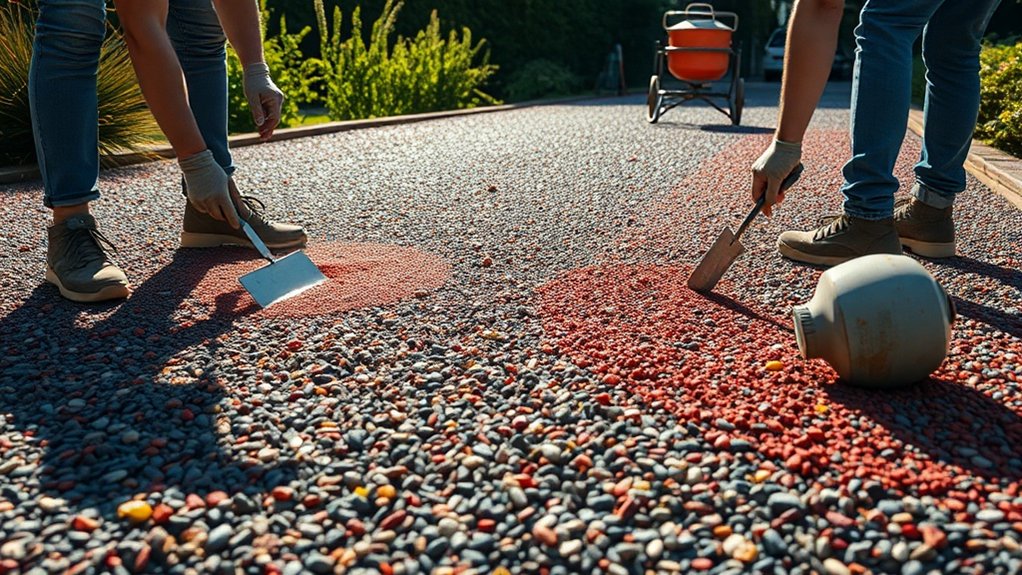
Applying a resin bound mixture requires precision to ensure a smooth finish. Here are some straightforward techniques to achieve the best results:
- Use a trowel to spread the mixture evenly, applying consistent pressure.
- Blend the resin and aggregates thoroughly with a paddle mixer.
- Level the surface using a plasterer’s float or squeegee.
- Ensure the base surface is clean and dry before pouring.
Pour the mixed resin onto the marked areas and compact the aggregate as you go. Keep your strokes minimal to secure solid material while leaving rough edges for proper blending.
Regularly check the depth and compaction to ensure consistency, resulting in a visually appealing and durable surface.
Curing and Finishing
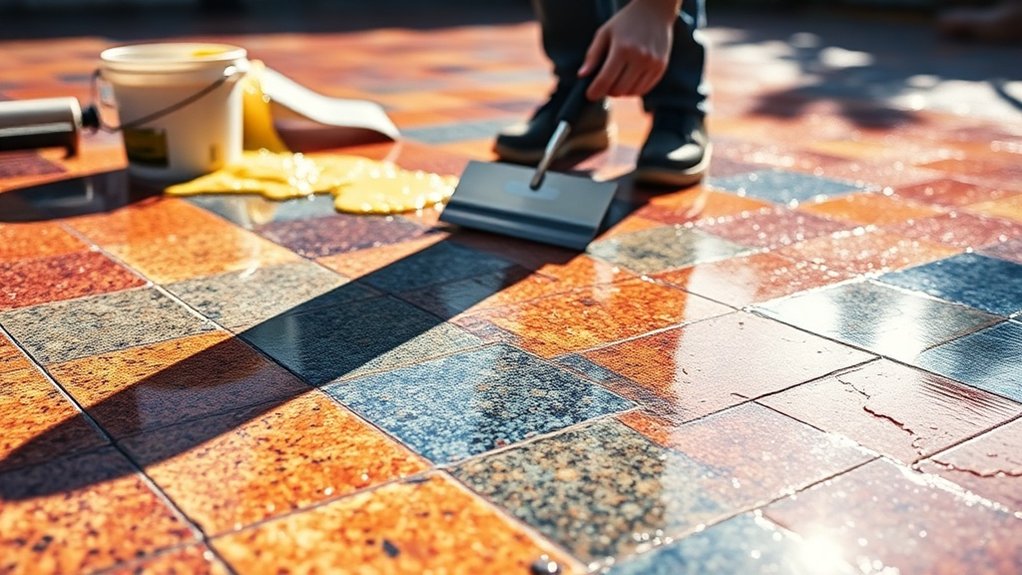
After applying your resin bound mixture, the curing and finishing stages are essential for a durable and attractive driveway.
The curing process typically takes 24-48 hours, so it’s important to prevent foot traffic during this period. If temperatures fall below 15°C, consider using curing accelerators to speed things up.
For the finishing touches, use plasterers’ floats to achieve a smooth and even surface.
If you notice any imperfections, fix them immediately with blending techniques for a seamless look. Keep an eye on the curing process to identify any issues early on.
Finally, carry out a visual inspection to ensure the surface meets your aesthetic and functional standards, making sure that drainage is adequate to avoid future problems.
Maintenance and Benefits

Maintaining your resin driveway is crucial for both its lifespan and appearance. Here are some simple maintenance tips to keep it looking its best:
- Sweep it weekly to avoid staining and maintain its look.
- Clean it thoroughly 3-4 times a year using mild detergents and a soft brush.
- Remove weeds by hand, and use diluted vinegar for any moss stains.
- Tackle stains quickly to prevent them from becoming permanent.
The advantages of a resin driveway include its durability against impacts and weather, a smooth finish that boosts curb appeal, and low porosity for efficient drainage.
With minimal maintenance needed, you’ll save time and money while enjoying a beautiful and functional driveway.
Choosing the Right Materials

When selecting materials for your resin driveway, it’s important to understand the difference between resin bound and resin bonded systems.
Consider factors like traffic load and the look you want to achieve. For a lasting and attractive finish, opt for high-quality aggregates that are clean and dry.
For instance, if you’re in a busy area, a resin bound system might be best for durability, while a resin bonded system can offer a more textured appearance.
Aggregate Selection Criteria
How do you select the right aggregates for your resin driveway? Choosing the right aggregates involves considering various factors that affect both appearance and performance.
- Aggregate colour should harmonise with your home’s style for a unified look.
- Aggregate texture is important for safety; coarser textures offer better slip resistance, especially in wet weather.
- Ensure aggregates are clean, dry, and uniform in size to promote good drainage and surface stability.
- Opt for natural aggregates to ensure UV stability and long-lasting colour retention.
Resin Types Overview
Choosing the right resin type for your driveway is essential for both its appearance and durability.
Polyurethane is an excellent option, offering superior UV stability, flexibility for minor ground movements, and excellent weather resistance. With a lifespan exceeding 20 years, it’s perfect for outdoor resin-bound driveways.
In contrast, epoxy has some downsides; it’s less UV stable, which can cause yellowing in sunlight, and typically lasts only 5-15 years.
While epoxy is strong and budget-friendly, making it suitable for heavy vehicle traffic, its shorter lifespan and UV limitations can impact your driveway’s overall performance.
Make your choice wisely to ensure your investment stands the test of time.
Ensuring Proper Drainage

To ensure proper drainage for your resin driveway, it’s crucial to plan ahead. Effective drainage can help avoid future problems. Here are some key considerations:
- Create a Gradient: Aim for a slope of 1-2% to allow water to flow away naturally.
- Use the Right Subbase: Opt for MOT Type 3 aggregate, compacted for optimal drainage.
- Install Drainage Channels: Add channels or French drains along the edges to manage excess water.
- Choose a Permeable Surface: Select coarse, angular stones in your resin mix to improve water permeability.
Tools and Equipment Needed

To install a resin driveway successfully, you’ll need several essential tools and equipment to ensure a smooth process.
From mixing to application, each item is crucial for achieving a professional finish.
Here’s a straightforward list of the tools required for mixing, spreading, and keeping safe during the installation.
Essential Tools Overview
A successful resin driveway installation relies on having the right tools and equipment. Proper maintenance ensures everything runs smoothly.
Here’s a list of essential tools you’ll need:
- A clean wheelbarrow (with polythene liners)
- A screed sledge for even distribution
- A hygrometer to measure humidity levels
- Safety gear such as gloves and knee pads
Always wear protective clothing and secure the work area with barriers.
Each tool is vital for achieving a flawless finish, so keep them in good condition and ready for use.
With the right preparation, you’ll be on your way to a stunning resin driveway.
Equipment for Mixing
When installing a resin driveway, having the right mixing equipment is essential for a consistent, high-quality finish. Here’s a quick overview of the tools you’ll need:
| Equipment | Purpose | Notes |
|---|---|---|
| Forced Action Mixer | Blends resin and aggregates evenly | Ensures uniformity in consistency |
| 110v Drill & Paddle | Mixes resin and hardener initially | Use larger paddles to avoid overheating |
| Shovels | Handle aggregates before mixing | Crucial for preparation |
| Wheelbarrows | Transports mixed materials | Helps keep the work area tidy |
| Protective Gear | Ensures safety during mixing | Always wear gloves, goggles, and masks |
Using the right equipment will not only make the mixing process smoother but also contribute to the overall quality of your driveway. Always prioritise safety and efficiency.
Application Tools Required
Successful installation of a resin driveway relies on using the right tools and equipment. Choosing the appropriate tools improves your application techniques and ensures a smooth finish. Here’s what you’ll need:
- Screed sledge for even resin distribution
- Specialised trowels for a flat finish
- Spirit levels and tape measures to check depth and alignment
- Stiff brushes to prepare the surface prior to application
These tools help achieve uniform thickness and ensure proper adhesion.
Don’t forget to wear safety gear like gloves and knee pads for protection during the process.
With the right tools at your disposal, you’ll be well on your way to a successful resin driveway installation.
Common Mistakes to Avoid
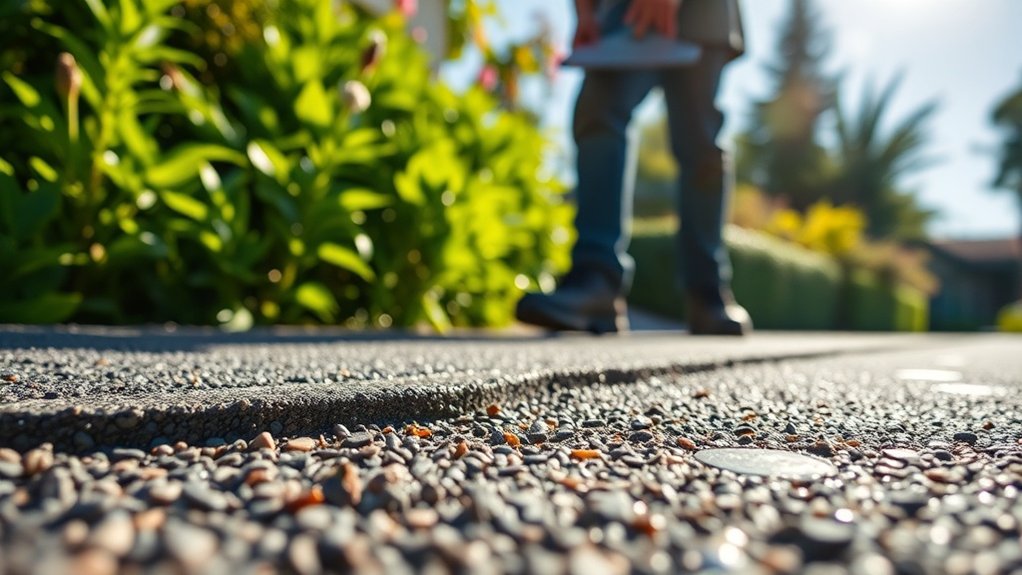
Installing a resin driveway can significantly improve your property, but there are common mistakes that can ruin the final result. One key error is poor base preparation; laying resin over existing block paving may cause reflective cracking. Always ensure a stable sub-base of at least 150mm for durability.
Another mistake is using the wrong resin depth; it should be no less than 15mm to avoid lifting patches. Weather conditions are crucial too—avoid installation on wet, cold, or very hot days to ensure proper curing.
Additionally, improper mixing can weaken the driveway’s strength.
Lastly, neglecting regular maintenance, such as debris removal, can affect both the appearance and durability of your driveway. By paying attention to these details, you’ll achieve a successful resin driveway installation.
Enhancing Aesthetic Appeal
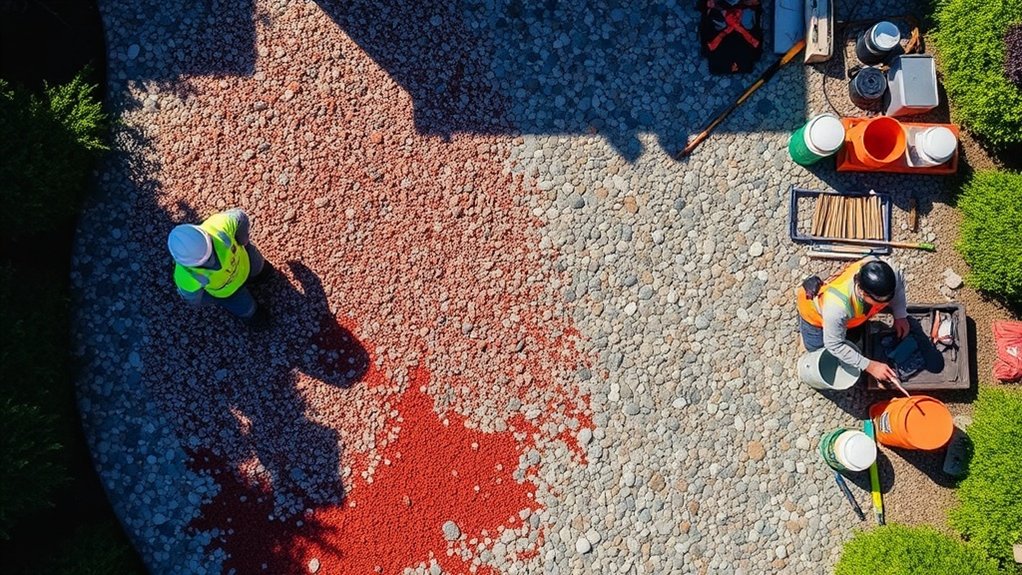
Improving the aesthetic appeal of your resin driveway can significantly enhance your property’s overall look.
By combining natural beauty with contemporary design, you can create an impressive entrance. Here are some effective ideas:
- Natural Stone-Inspired Finishes: Opt for aggregates like marble or quartz to achieve a luxurious finish.
- Geometric Patterns: Use shapes such as hexagons for a distinctive and eye-catching design.
- Earthy Tones: Select browns and greens to blend seamlessly with your surroundings.
- Multi-Tone Resin: Mix different colours for a striking visual effect.
These enhancements not only boost curb appeal but also create a practical, eco-friendly driveway.
Let your driveway showcase your personal style while complementing the environment.
Frequently Asked Questions
How Long Does a Resin Driveway Typically Last?
A resin driveway usually lasts between 15 to 25 years, largely depending on the quality of materials used and the installation process. To ensure it lasts as long as possible, it’s important to keep up with maintenance. This includes regular cleaning, resealing every few years, and promptly repairing any damage. For instance, if you notice cracks or stains, addressing them quickly can prevent further issues down the line.
Can I Install a Resin Driveway in Winter?
Yes, you can install a resin driveway in winter, but you need to keep an eye on the temperature. Ensure it’s above 5°C and check moisture levels regularly. Using specialised materials and additives can help tackle the challenges posed by colder weather effectively.
What Colors and Textures Are Available for Resin Driveways?
Resin driveways offer a wide range of colour options and textures to suit your style. You can choose from subtle neutral shades like greys and browns, or go for bolder colours such as reds and blues. Textures can vary from smooth finishes to more patterned looks, allowing you to create a unique appearance for your driveway. Whether you’re after a classic or contemporary feel, there’s plenty of choice to match your home’s aesthetic.
Is a Permit Required for Resin Driveway Installation?
Before you begin installing your resin driveway, it’s essential to check the local permit requirements. Regulations differ across the UK, and securing the necessary permits ensures you’re compliant with the law. This helps you avoid any legal issues or fines from local authorities for carrying out unauthorised work. For example, some areas may require planning permission if your driveway alters drainage or affects the street appearance. Always do your homework first to ensure a smooth installation process.
How Does Resin Driveway Installation Affect Property Value?
Installing a resin driveway significantly enhances your property’s appeal and can provide a good return on investment. This improvement attracts potential buyers and can elevate your home’s market value, making it a wise financial choice. For instance, a well-installed resin driveway can give a modern look to your home, setting it apart in a competitive market.
Conclusion
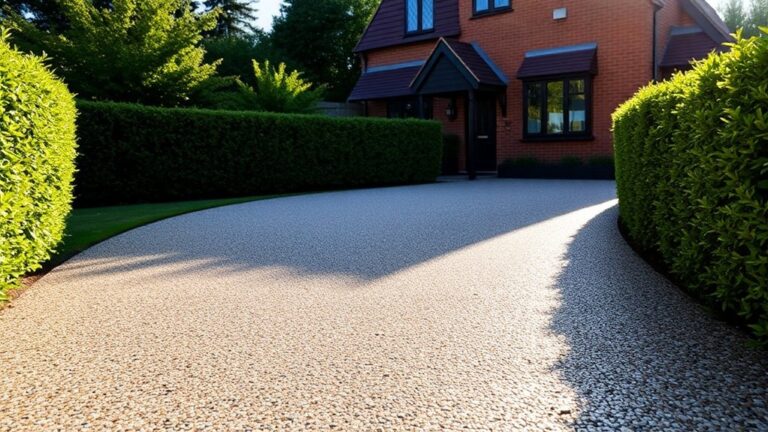
In summary, installing a resin driveway can significantly enhance your property’s appearance. By carefully following each step, you’ll create a robust and visually appealing surface that boosts your home’s curb appeal. Pay close attention to detail—much like putting the final touches on an artwork. Ensure proper drainage to avoid common issues and make a lasting impression. With a bit of patience and precision, your new driveway will be admired by neighbours for years to come.
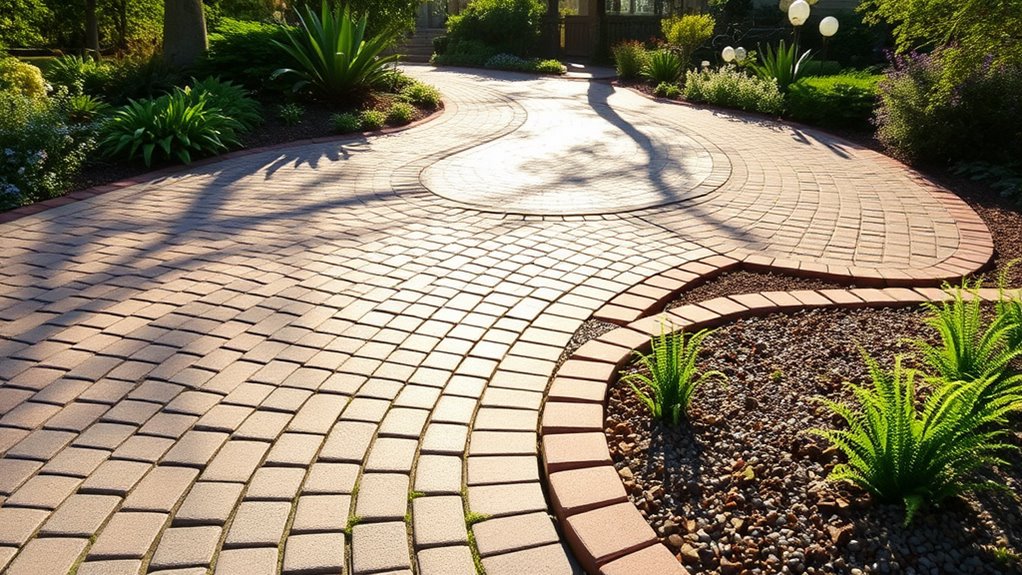
Overwhelmed by driveway options? Discover eco-friendly materials that elevate your home's sustainability while enhancing its curb appeal—your perfect choice awaits!

Incorporate essential tips for maintaining your resin driveway's longevity and appearance, ensuring it remains a stunning feature of your home. Read more
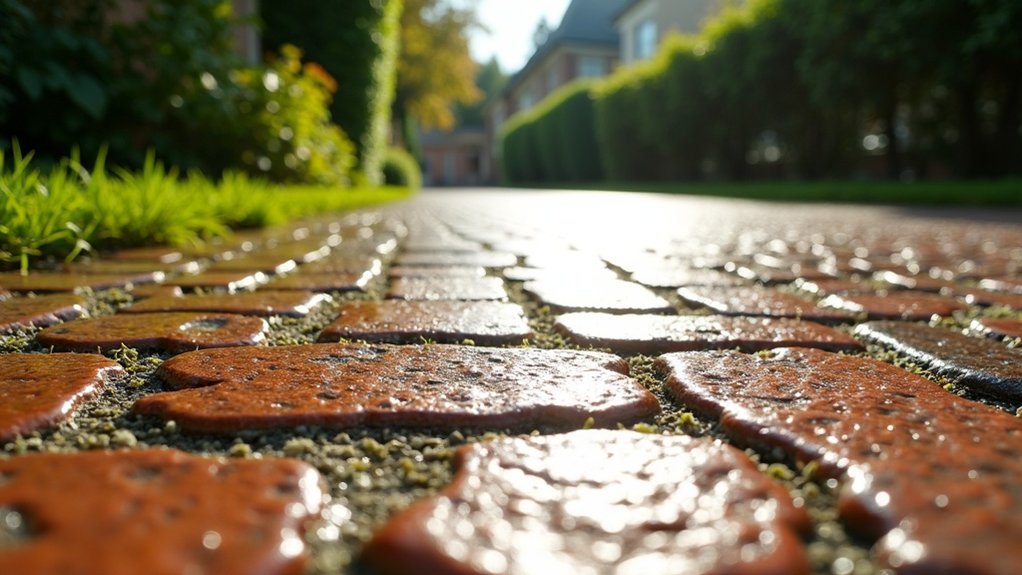
Just how do installation quality and weather conditions impact the longevity of your resin driveway? Find out the crucial factors Read more