Timeline for Resin Driveway Projects
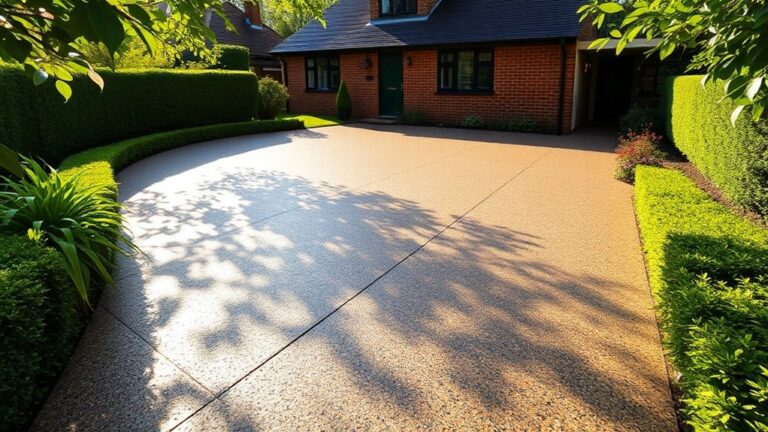
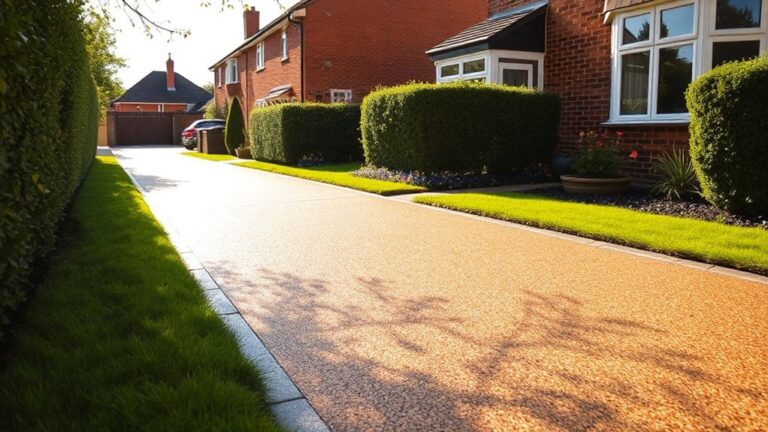
When planning a resin driveway project, allow around two to three days for site preparation and installation. After that, you’ll need 24 to 36 hours for curing before it can be driven on. Keep in mind that factors such as weather, site complexity, and the efficiency of your contractor can influence the timeline. Start with a detailed consultation to discuss costs and your preferences. Staying organised throughout the process will help ensure everything runs smoothly. For further tips on maintenance and best practices, keep exploring.
Key Takeaways
- Site preparation, which includes removing existing surfaces and installing drainage, usually takes 1-2 days.
- Experienced contractors can mix and lay the resin in a single day.
- Curing time is essential: allow 4-8 hours for foot traffic and 24-36 hours before vehicle access.
- Overall, the project typically lasts around 3 days, plus the curing time.
- Keep in mind that weather conditions and the complexity of the site can greatly influence the timeline.
Initial Consultation and Site Survey
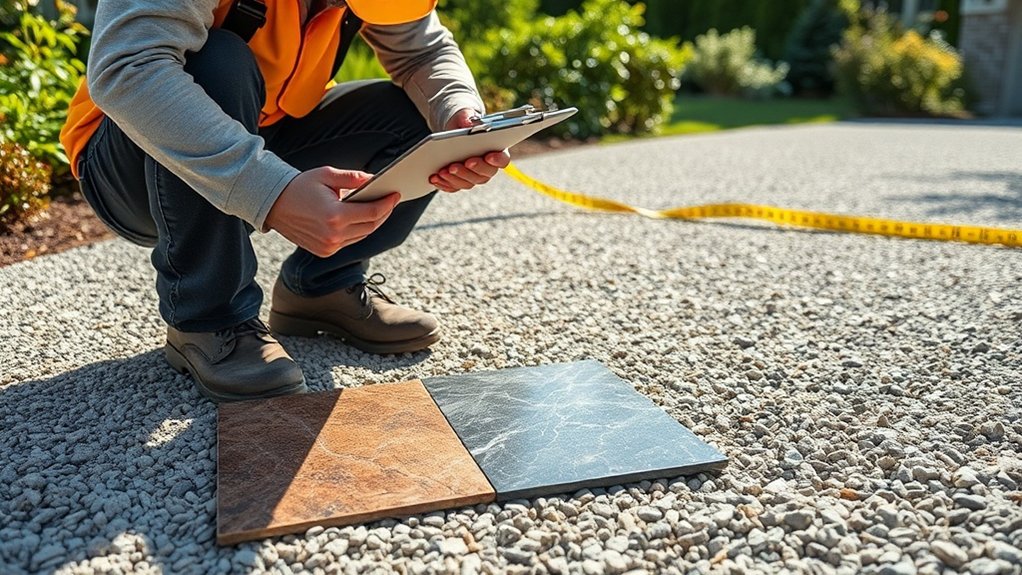
When starting your resin driveway project, the initial consultation and site survey are essential steps that lay the groundwork for your project. This phase helps clarify what you expect while discussing your design preferences, such as colour, texture, and any special features you might want.
During the site survey, we’ll examine the current surface condition and identify any potential issues, like tree roots or access difficulties. It’s crucial to assess drainage requirements and the surrounding landscape to ensure your design fits well. Accurate measurements will lead to a detailed quotation that outlines costs, timelines, and material specifications. This thorough approach ensures that every aspect is addressed, providing a strong foundation for your resin driveway project. Additionally, it’s important to discuss any drainage needs that may arise from the site assessment to prevent future complications. Proper assessment of the existing surface is vital to avoid cracks and ensure the longevity of your new driveway.
Ground Preparation
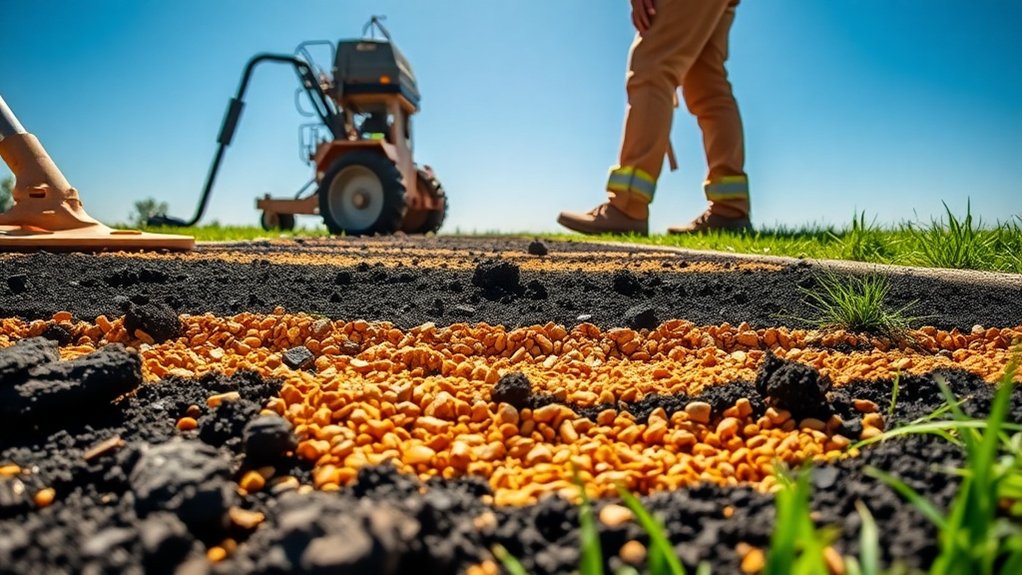
With the initial consultation and site survey done, the next step is ground preparation, a crucial phase for a successful resin driveway installation.
First, inspect the ground thoroughly, removing any old materials, debris, weeds, and dust. Ensure the site is completely clean and dry, as moisture testing is essential for proper resin adhesion. It is important to ensure a solid sub-base to support the weight of vehicles and enhance the longevity of the driveway. A solid base is critical for achieving the recommended minimum thickness for the resin layer.
Check the surface for stability, repairing any cracks or uneven areas as necessary. Excavate to the required depth and compact the base soil to create a solid foundation.
Plan for drainage solutions to prevent water pooling and moisture retention, which can compromise the driveway’s lifespan.
Lastly, double-check cleanliness and compaction before proceeding to ensure ideal conditions for resin application.
Base Layer Installation
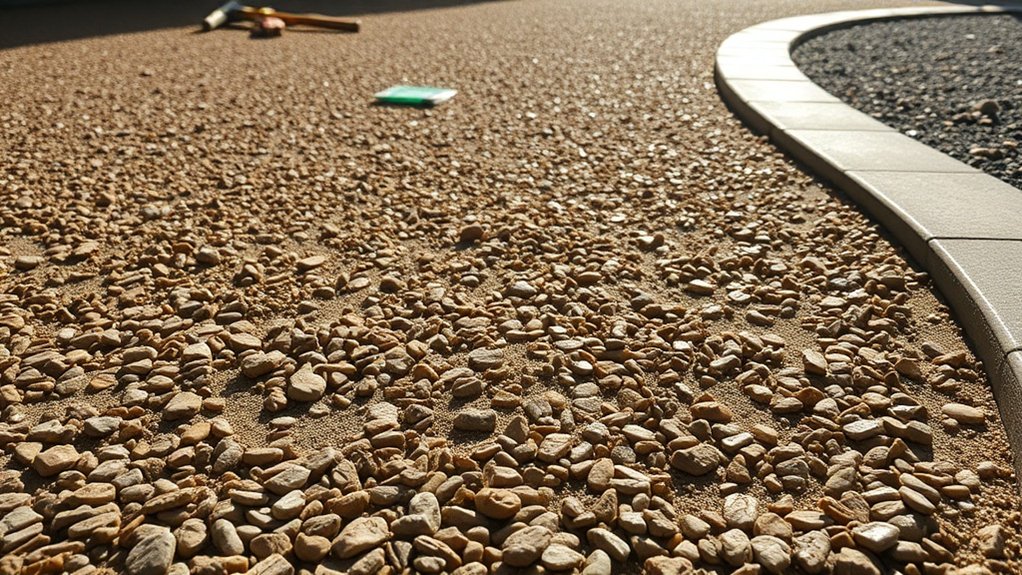
When installing the base layer for your resin driveway, it’s crucial to ensure stability for long-lasting performance. Focus on effective compaction and leveling techniques to achieve the required thickness. The strength of this foundation directly affects your driveway’s durability and appearance, so getting it right from the outset is key. For instance, use a vibrating plate compactor to ensure even compression, which will help prevent future issues like cracking or sinking. Proper preparation is essential for high-quality materials to ensure a durable finish. Additionally, proper mixing of resin and aggregates enhances durability, contributing to the overall lifespan of your driveway.
Importance of Base Stability
The stability of the base layer is crucial for the performance and longevity of resin driveways, as it affects their ability to support heavy loads and resist environmental challenges.
- Ensure the base layer is at least 100mm thick for optimal load-bearing capacity.
- Use MOT type 3 aggregate as the best choice for a durable base.
- Install a geotextile membrane underneath to stop weeds from growing through.
- Keep the sub-base dry and free from standing water before applying the resin.
Compaction and Leveling Techniques
Proper compaction and levelling of the base layer are crucial for a stable resin driveway.
Begin by choosing a suitable base material that compacts well. Use a mechanical plate compactor to compress each layer of aggregate, ideally in 50mm increments. Make several passes in different directions for even density.
To ensure a flat surface, use laser or string line levels, adding more aggregate where needed. Keep an eye on moisture content to improve bonding without compromising strength.
Lastly, install edge restraints to keep the base shape and level before applying the resin surface. This careful process will prevent future sinking and ensure a durable driveway.
Base Layer Thickness Requirements
For standard residential resin driveways, a base layer of at least 100mm is crucial for durability and support.
This thickness ensures your driveway can handle the weight of vehicles and helps prevent future issues.
- If you have heavier vehicles, increase the thickness to 150mm or more.
- Use compacted MOT type 3 aggregate for added strength and effective drainage.
- Ensure proper compaction between layers to keep the structure sound.
- Consider installing a geotextile membrane beneath the base to keep weeds at bay and maintain stability.
Resin and Aggregate Application

In the resin and aggregate application process, it’s important to use precise mixing techniques to ensure a consistent blend.
Applying the mixture with the right tools will help achieve a smooth finish and maintain quality control.
Keep an eye on conditions during this stage to avoid inconsistencies and ensure a durable result.
For example, consider the weather; working in humid conditions can affect the curing process.
Mixing Resin and Aggregate
Mixing resin and aggregate is crucial for creating a strong, attractive surface. Follow these straightforward guidelines to ensure the best results:
- Use 7.5 kg of UV stable resin and hardener for each batch.
- Combine 75% of 2-5mm stone with 25% of 1-3mm stone, using a total of four 25kg bags.
- Include 6.25 kg of fine crushed glass sand to enhance slip resistance.
- Ensure aggregates are washed, dried, and free from dust for optimal bonding.
Begin by mixing the aggregates, then gradually add the pre-mixed resin binder.
Consistent mixing times and order are key to achieving a uniform finish for your driveway project.
Application Techniques and Process
Once you’ve successfully mixed the resin and aggregate, the next step is to apply this mixture to create a sturdy and appealing driveway surface.
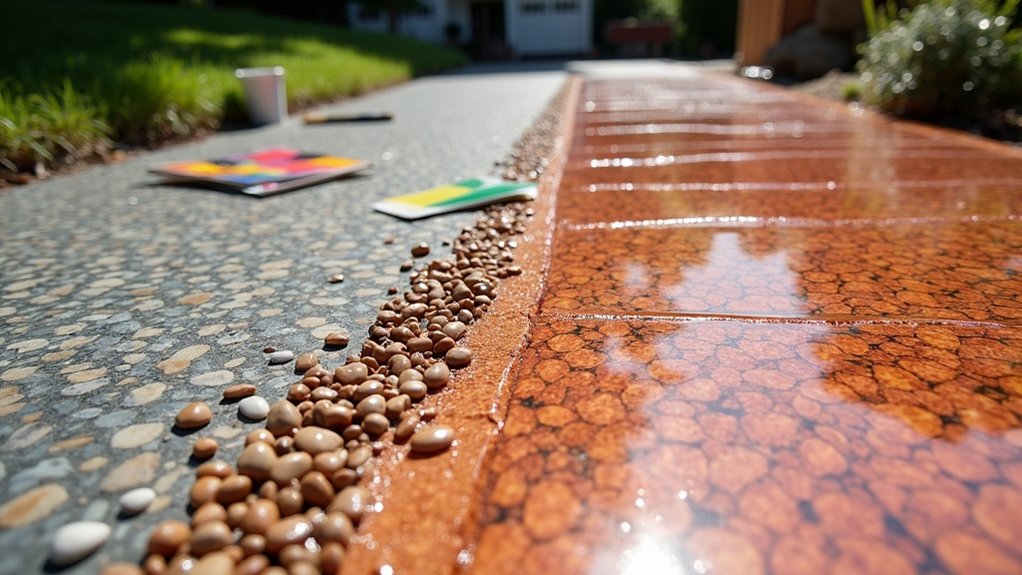
First, ensure your base layer is clean and well-compacted to improve application efficiency. Use trowels to spread the resin mixture evenly across the base, working quickly to avoid premature curing. Keep an eye on the temperature and humidity to maintain the resin’s ideal viscosity.
While the resin is still wet, broadcast the aggregates to ensure they’re properly encapsulated. Use tools to press the aggregates in for full adhesion, and monitor the integration closely to prevent any separation.
This method, based on advanced resin technology, ensures a robust and attractive finish for your driveway.
Quality Control Measures
To ensure your resin driveway remains durable and visually appealing, it’s vital to implement strict quality control measures during the application of resin and aggregate.
Here are some essential practices for quality assurance:
- Conduct annual inspections to identify any cracks or loose aggregates promptly.
- Use certified aggregates and ensure accurate mixing ratios for optimal bonding.
- Adhere to industry standards, such as FeRFA guidelines, for resin-to-aggregate ratios.
- Carry out material testing prior to application to ensure compliance and maintain integrity.
Curing Time

Curing Time
As you await the completion of your resin driveway, it’s important to understand the curing time to ensure optimal performance and longevity. The resin needs 4 to 8 hours to cure before it can safely support light foot traffic.
If you need vehicle access, wait 24 to 36 hours, and for heavier vehicles, allow at least 36 hours.
Keep in mind that temperature affects curing time; warmer conditions speed it up, while colder temperatures can slow it down.
Factors like proper mixing ratios and layer thickness also play a part in how quickly the resin cures.
To achieve the best results, avoid heavy impacts on the surface and keep it clean during the curing phase.
Following the manufacturer’s guidelines will help enhance both the durability and appearance of your new driveway.
Total Project Duration

- Day 1-2: Prepare the site by removing existing surfaces and installing drainage.
- Day 3: Mix and lay the resin, typically finished within a day by experienced contractors.
- 24-36 hours: Allow for curing time before vehicle access to ensure durability.
- Total timeline: A straightforward process that balances thorough preparation with efficient installation.
Factors Affecting Timeline

Several factors can significantly affect the timeline of your resin driveway project, influencing everything from preparation to installation.
Weather is a crucial factor; warm, dry conditions can speed up curing, while rain and high humidity may cause delays.
The size and complexity of your driveway also play a role—larger or more intricate designs require additional materials and labour, which can extend the timeframe.
Moreover, proper site preparation is vital; ensuring a stable, dry surface is essential for good adhesion and can take time.
Lastly, the efficiency of your contractor is important; experienced teams can work more quickly, but their availability during busy periods may lead to delays.
Post-Installation Maintenance
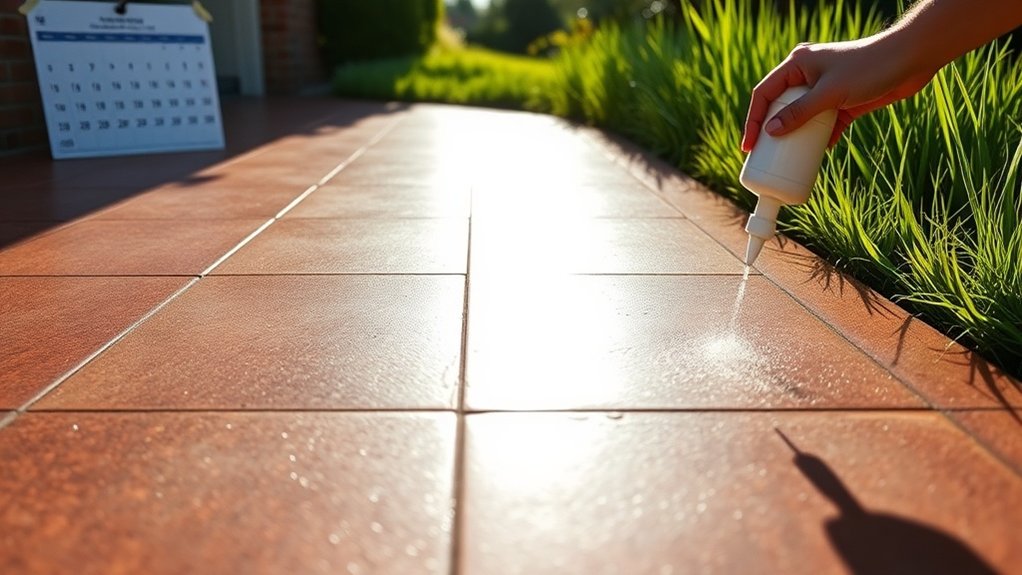
After your resin driveway is installed, maintaining its appearance and integrity is essential. Follow these straightforward maintenance tips to keep your driveway in excellent condition:
- Sweep regularly to remove leaves and debris, particularly in autumn.
- Pressure wash once or twice a year with a low-pressure setting for thorough cleaning.
- Tackle stains promptly using gentle methods; for oil stains, sprinkle baking soda, and for moss, use vinegar.
- Inspect periodically for any damage, especially after severe weather, and steer clear of harsh chemicals during winter.
Frequently Asked Questions
What Materials Are Used in Resin Driveways?
In resin driveways, you’ll typically find polyurethane and epoxy resins combined with natural stones or recycled glass. There are two main installation methods: resin bound, which provides a seamless finish, and resin bonded, which is quicker but less durable.
How Do Weather Conditions Impact Installation?
Imagine witnessing your freshly laid resin driveway bubble and discolour due to an unexpected downpour. Weather conditions can significantly affect installation, and factors like temperature can impede the curing process. If not properly managed, this can lead to costly repairs and an unsatisfactory finish. It’s essential to check the weather forecast before installation to avoid such issues.
Can I Choose Different Colors for My Driveway?
Yes, you can choose different colours for your driveway. Think about colour combinations and patterns that match your home. Custom options can boost your curb appeal and create a unique look that reflects your style. For example, pairing a grey driveway with white stone borders can create a striking effect.
Is Resin Driveway Installation Noisy?
Resin driveway installation is not noisy. The process involves manual methods rather than heavy machinery, resulting in minimal noise. For example, the equipment used creates little disruption, making it a quieter option compared to traditional driveways like tarmac or block paving. Overall, you can expect a more peaceful installation experience.
Are There Any Warranties for Resin Driveways?
Warranties for resin driveways do exist, typically covering the durability of the resin. To ensure your warranty remains valid, it’s important to adhere to specific maintenance guidelines. For example, regular cleaning and avoiding heavy machinery can help maintain the integrity of your driveway. Always check the terms of your warranty for details.
Conclusion
As you wrap up your resin driveway project, keep in mind that each stage is crucial for achieving a beautiful finish. Although timelines can differ, careful preparation, installation, and curing will ensure a durable result. Patience is key—this investment will provide you with a driveway that stands out in your neighbourhood. Once completed, you’ll appreciate its lasting beauty with minimal maintenance, making it a worthwhile addition to your property.

Keen to transform your driveway? Discover the essential steps to expertly install a resin driveway and elevate your home's curb Read more

Incorporate essential tips for maintaining your resin driveway's longevity and appearance, ensuring it remains a stunning feature of your home. Read more
Just how do installation quality and weather conditions impact the longevity of your resin driveway? Find out the crucial factors Read more