
How to Repair Cracks in a Concrete Driveway
If you've ever thought your concrete driveway looks like a scene from a disaster movie, you're not alone. Cracks can be unsightly and may even lead to more serious issues if left unchecked. You might be wondering how to tackle this problem effectively and what steps you need to take to restore your driveway to its former glory. Understanding the proper techniques and materials is vital, but there's more to the process than just filling in those gaps. Let's explore what you should consider before you start this essential repair.
Assessing the Crack
When you're faced with cracks in your concrete driveway, the first step is to assess the severity of the damage. Begin with crack measurement; using a crack width ruler or gauge, measure the width of each crack. Note whether they're hairline or several millimeters wide.
Next, assess the depth through visual examinations, impact-echo tests, or ultrasonic pulse velocity (UPV) tests. Document the length and location of the cracks, as this information will help in understanding the nature of the damage. Accurate evaluation of cracks is crucial for informing repair strategies and cost assessments. Additionally, identifying the underlying causes of cracks can help you implement effective preventative measures.
For cause identification, check for signs of rust, which may indicate steel corrosion. Inspect cracks near supports for inclined shapes, suggesting shear stress. Look for chemical reactions, like alkali-aggregate reactions, and determine if overloading, creep, or construction movements contributed to the cracks.
Evaluate if the cracks are merely cosmetic or if they signal structural instability. Check for compressions and ground deviations around the cracks, which could affect the overall integrity of your driveway.
Finally, monitor crack movement using nails, motion monitors, or strain gauges to track changes over time, ensuring you address any ongoing issues effectively.
Preparing the Crack
Typically, preparing the crack is essential for guaranteeing a successful repair. Start by using effective cleaning techniques to remove dirt, debris, and loose materials from the crack. A wire brush, stiff bristle brush, or pressure washer works well for this task. Make sure the crack is free of contaminants that could hinder adhesion. It's important to note that even hairline cracks can benefit from thorough cleaning to ensure a proper bond.
Inspect the area for any vegetation or old concrete that needs removal. If you find any loose or deteriorated concrete, use a chisel and hammer to chip away unstable edges, guaranteeing a clean and stable surface for your repair.
After cleaning the crack and surrounding area, apply a concrete bonding agent to enhance the adhesion between the existing concrete and the repair material. Use a brush or roller for application, following the manufacturer's instructions regarding drying time. Proper surface cleaning is crucial for ensuring the repair material effectively bonds to the existing concrete.
Guarantee the bonding agent is fully dry before proceeding. If the crack is wider than ½ inch, consider installing sand or a backer rod to fill the void, limiting the amount of caulk needed. Fill the crack with sand, tapping to guarantee even distribution.
Once everything is clean and dry, you're ready for the next steps in your repair process.
Choosing Repair Material
Selecting the right repair material for your concrete driveway is essential for guaranteeing a long-lasting fix.
If you're dealing with hairline or small cracks, liquid fillers are a great option. They're easy to apply using a caulk gun or trowel and can be smoothed with a putty knife for a clean finish. These fillers often come in self-leveling and non-sag forms, providing a quick cure within 24 hours. Additionally, using flexible polyurethane caulk ensures that the repair can withstand seasonal changes without further cracking. Regular maintenance of your driveway can help mitigate the risk of further damage caused by larger cracks.
For larger cracks, consider a patching compound. It's available in both powder and pre-mixed forms and is applied with a trowel or putty knife. This material is designed to fill substantial damage, though it requires 24 to 48 hours to cure and harden.
If you need maximum strength, epoxy-based products offer significant advantages. They're strong and durable, making them ideal for structural cracks. While they're more expensive, their bonding capabilities guarantee a robust repair, even for small cracks.
Lastly, flexible concrete caulk can effectively seal joints and cracks. Brands like Chemlink and Sika provide reliable options and are available in self-leveling and non-sag varieties, guaranteeing versatility in application.
Applying the Repair Material
Applying the repair material to your concrete driveway requires meticulous preparation and execution to secure a durable fix. Start by selecting the right repair techniques, making sure you have the proper application tools at hand. Concrete driveways can last up to fifty years or more with minimal upkeep, making timely repairs essential for maintaining their long-lasting appearance. Additionally, understanding the causes of cracks can help in choosing the most effective repair method.
Here's a quick reference table for the steps involved:
| Step | Description | Tools Needed |
|---|---|---|
| Clean the Crack | Remove dirt and debris with a wire brush or pressure washer. | Wire brush, pressure washer |
| Apply Bonding Agent | Coat the cleaned area to enhance adhesion. | Paintbrush or roller |
| Fill the Crack | Use a trowel to push the repair compound into the crack. | Trowel or putty knife |
Once the crack is clean and prepped, mix your chosen repair compound according to the manufacturer's instructions. Fill the crack slightly over the surface to account for shrinkage. For deeper cracks, apply in layers, allowing each to dry before adding more. After you've filled the crack, use a trowel to level it with the surrounding concrete. Remember, proper application guarantees your repair will last, so take your time and follow each step carefully.
Finishing and Smoothing

Once you've filled the crack in your concrete driveway, it's crucial to focus on finishing and smoothing the surface to guarantee a seamless repair.
Start by using a putty knife or trowel to smooth the surface of the filled crack. Make sure the filler is level with the surrounding concrete to avoid any unevenness. Regular maintenance, including prompt repairs, can prevent further deterioration of the driveway.
For a textured finish, employ various texture techniques; you can use a wet finger or a small tool to blend the filler into the existing concrete.
Remove any excess filler material to prevent it from drying on the surface. If necessary, utilize a scraper or damp cloth to achieve a smooth finish.
To create the desired texture, use a broom or a concrete finishing tool, applying a "broom finish" to enhance slip resistance. For aesthetics, indent the filled area slightly with a plastic spoon dipped in water, making sure the texture matches the surrounding surface.
Finally, inspect the repaired area for any gaps or imperfections. If you find any, apply additional filler and smooth it out, maintaining uniformity across the repair.
This attention to detail guarantees your driveway looks professional and well-maintained.
Curing the Repair
To guarantee a successful repair of your concrete driveway, curing the repair material appropriately is essential.
Begin by cleaning the area around the repair to eliminate any dust or debris that could interfere with the curing process. Make certain the repair material is evenly applied and smoothed to the level of the surrounding concrete, using a putty knife or trowel to remove any excess and eliminate air pockets.
Next, pay attention to environmental factors. Maintain the recommended temperature range specified by the manufacturer for ideal curing. Protect the area from direct sunlight and moisture during the curing period. Avoid traffic on the driveway until the material is fully cured, as this can compromise the repair.
Follow the manufacturer's instructions regarding curing time, typically 24 to 48 hours. Some materials may require longer curing times or specific conditions. During this period, periodically check the repair to confirm it's setting correctly.
Rushing the curing process can lead to weak spots, so exercise patience. After the curing time, inspect the area for hardness and evenness, addressing any imperfections that may have occurred.
Sealing the Surface
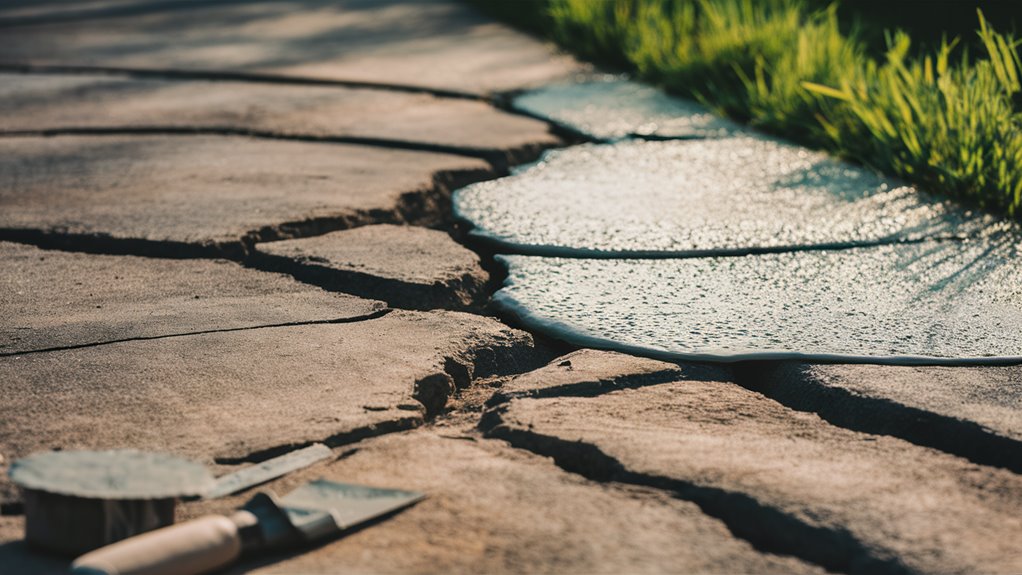
After curing the repair, sealing the surface of your concrete driveway becomes the next critical step in confirming its longevity and durability.
Sealing protects the repaired area from moisture, chemicals, and UV damage, reducing the risk of future cracks and enhancing your driveway's appearance.
To achieve ideal results, follow these steps:
- Choose the Right Sealer Types: Select a sealer suitable for driveways and your local climate. Make sure it's compatible with the repair materials used.
- Clean the Surface: Thoroughly clean the driveway before application to confirm good adhesion.
- Application Techniques: Use a brush, roller, or sprayer as recommended by the manufacturer. Confirm even coverage and avoid pooling.
- Allow to Dry: Follow the manufacturer's instructions for drying times before using the driveway to prevent damage.
Regularly inspect the sealed surface for wear and plan to reapply every 1-5 years, depending on the sealer type.
Preventing Future Cracks
Preventing future cracks in your concrete driveway requires careful attention to the installation process and materials used.
First, verify proper subgrade preparation by compacting the soil beneath the slab to prevent settling and shifting. A well-prepared subgrade supports the concrete, so make certain to compact the base layers thoroughly before pouring.
Additionally, implement effective drainage measures to avoid water accumulation that can lead to erosion.
When mixing your concrete, use a low water-to-cement ratio to minimize cracking potential, and consider incorporating admixtures that control cracking.
Adding fiber reinforcement, such as UltraFiber 500®, and using steel rebar or wire mesh will help distribute loads and enhance the slab's strength.
Strategic joint placement is essential for managing stress and movement. Install control joints in specific locations to direct potential cracks and use concrete grooving tools for precise joint formation.
Remember to cut control joints into the slab the day after pouring to allow for effective crack management.
Finally, proper curing of the concrete is crucial; allow adequate time for hydration to avoid premature drying, guaranteeing a durable and resilient surface.
Maintenance Tips
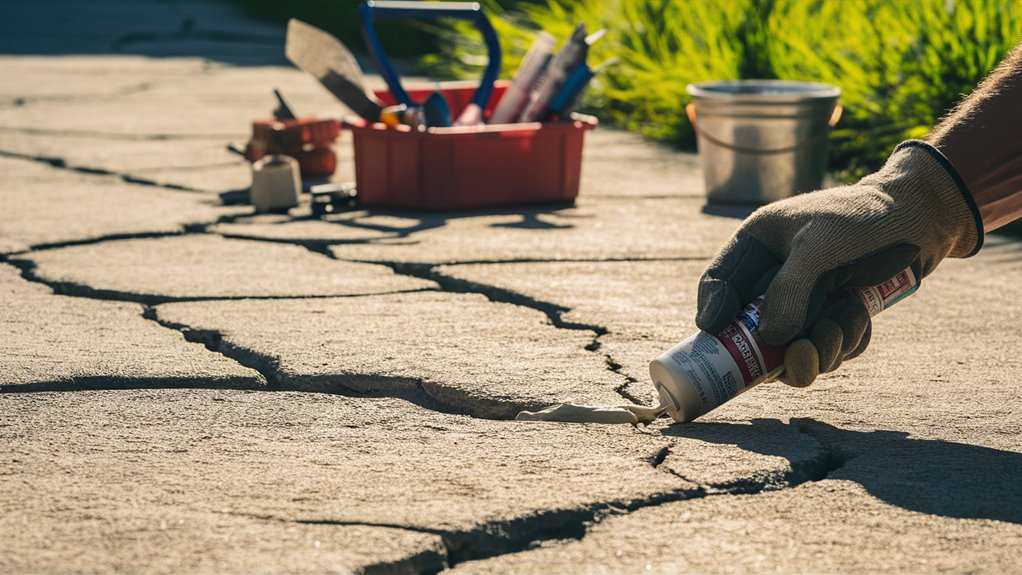
Maintaining your concrete driveway is essential for preserving its integrity and appearance over time. Implementing effective maintenance strategies can greatly extend the lifespan of your driveway. Here are some key tips you should follow:
- Regular Cleaning: Remove dirt, debris, and leaves with a broom or leaf blower. This prevents staining and deterioration.
- Sealing: Apply a high-quality concrete sealer every few years. This provides surface protection against moisture and harmful chemicals.
- Inspect for Cracks: Regularly check for new cracks or damage. Early detection allows for timely repairs, preventing further degradation.
- Avoid Heavy Loads: Limit the weight your driveway bears, especially during extreme weather conditions. Excessive weight can lead to cracking and structural failure.
Conclusion
By repairing cracks in your concrete driveway, you're not just mending surface blemishes; you're reinforcing the very foundation of your home. Each step you take—cleaning, filling, sealing—serves as a protective shield against the wear of time, much like a knight donning armor. With diligent maintenance and regular inspections, you can keep your driveway looking pristine, ensuring it stands strong against nature's relentless forces. Embrace this task, and watch your driveway transform into a lasting symbol of care.

The Dilemma of Homeowners One of the most common and frustrating issues that homeowners face is driveway cracks. These cracks Read more

We all have an idea of how we want our driveways to look; whether it's the feel of a smooth Read more
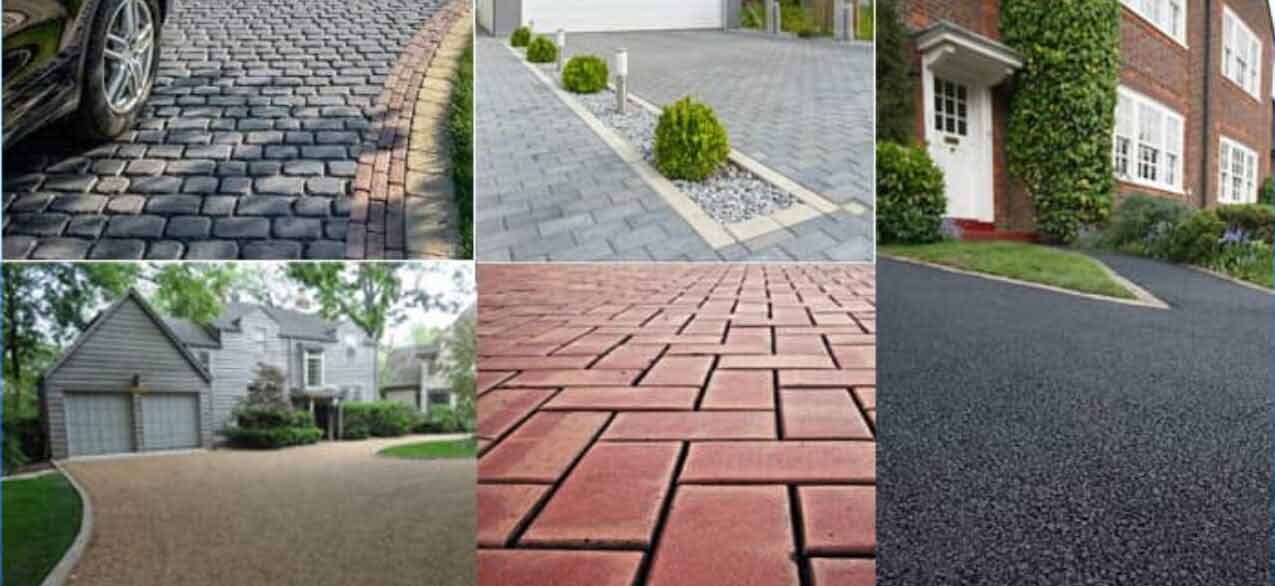
We all know that the driveway is one of the most important features of any home. It sets the tone Read more