How to Patch Small Holes in Resin
To patch small holes in resin, start by cleaning the area and keying the holes for better adhesion. Mix a two-component epoxy resin or urethane-based resin as per the manufacturer’s instructions. Carefully fill the holes, ensuring minimal air bubbles. Allow sufficient curing time, then sand the patched area using progressively finer grits for a smooth finish. Check that the final surface matches the surrounding area. There are specialised techniques available that can further improve your results.
Key Takeaways
- Start by cleaning the surface, removing any dust or debris, and roughen the inside of the holes for better adhesion.
- Mix a two-part epoxy resin according to the instructions, using the double-mix method for an even consistency.
- Carefully fill the holes with resin, avoiding any excess, and manage bubbles during curing for a smooth finish.
- Allow the resin to cure completely, which typically takes around 8 hours, then sand the area using progressively finer grits for a seamless look.
- Finally, inspect the patched area for smoothness, colour consistency, and proper adhesion, ensuring it’s free from any visible defects or debris.
Materials Needed for Patching Holes

To effectively patch small holes in resin, you’ll need a few key materials for a solid repair.
Start with two-component epoxy resins, which are renowned for their strong adhesive properties and durability. For quick repairs, urethane-based resins, such as Sherwin-Williams Resutile™ 4700, are ideal as they cure rapidly and don’t shrink. Additionally, this two-component, multi-purpose urethane material is designed specifically for patching holes, cracks, and surface imperfections.
If appearance matters, opt for transparent or clear epoxies that can be polished for a seamless finish. For concrete or stone surfaces, use resins specifically designed for compatibility with those materials.
Mixing in compatible aggregates, like marble dust, can improve colour matching and enhance mechanical strength. If colour matching is essential, ensure you have pigment or stain options on hand to achieve a cohesive finish.
Preparing the Surface

Preparing the surface for patching is crucial for a strong and seamless repair. Here’s how to do it effectively:
- Use compressed air or a vacuum cleaner to remove dust and debris.
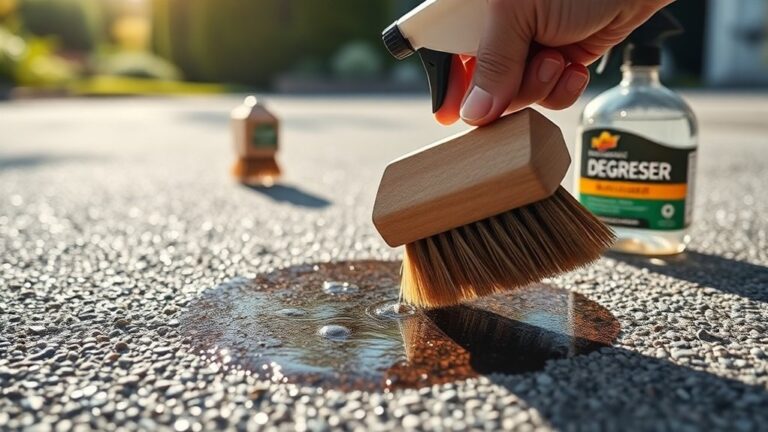
- Wipe the area with a lint-free cloth that’s dampened with solvent.
- Check for any loose resin or substrate and remove it.
- Sand the interior walls to create a rough surface for better adhesion, as this will help ensure that the epoxy resin’s bonding strength is maximized.
- Ensure the repair area is dry and that the surrounding conditions are suitable.
Keying the Holes

Keying involves creating a textured surface within the hole, which improves adhesion between the resin and the hole walls. To do this, use a drill fitted with a small drill bit to roughen the sides of the hole. This enhances the mechanical bond for the resin, making your repair more durable as the resin grips the surfaces better. Skipping this step could result in weak bonding and the patch failing. Always make keying a priority before applying your resin. Additionally, be sure to wear proper safety gear such as a mask and glasses while drilling to protect yourself from dust and debris.
Mixing the Resin

Mixing resin requires careful attention to the correct ratios to ensure effective curing and performance.
Use precise mixing techniques to achieve a consistent blend, which will help reduce the risk of air bubbles and unevenness.
If you don’t adhere to these guidelines, it could compromise the quality of your repair.
So, it’s important to pay close attention to detail.
For example, if you’re mixing two parts resin to one part hardener, be sure to measure accurately for the best results. Additionally, proper mixing is crucial to avoid weakening the driveway’s strength.
Proper Ratios Matter
When working with resin, understanding the right mixing ratios is vital for a strong and durable repair. Here’s what you need to know:
- Resin Type: Most craft resins follow a 1:1 ratio, whereas industrial resins can vary from 2:1 to 3:1.
- Filler Ratios: Depending on your needs, adjust fillers like sand or fibreglass from a 1:1 to 5:1 ratio.
- Surface Preparation: Ensure surfaces are clean for the best adhesion.
- Curing Time: Allow adequate time for the resin to cure fully before applying any stress to the repair.
- Safety Precautions: Always wear protective equipment to avoid inhaling fumes or skin contact.
- Durability Considerations: Proper mixing and preparation can significantly enhance surface lifespan and the effectiveness of your repair.
Mixing Techniques Explained
A successful resin repair relies on effective mixing techniques to ensure uniformity and strength.
Use the double-mix method: transfer your mixed resin into a clean container and mix again for 1-2 minutes. This helps to eliminate unmixed spots and provides a consistent blend.
For small amounts, mix thoroughly by hand with a stir stick, scraping the sides continuously for 3-4 minutes.
For larger quantities, mechanical mixers can speed things up, but keep the speed low to avoid trapping air bubbles.
Once mixed, let the resin sit briefly to help manage bubbles, and you might want to use heat tools or vacuum degassing for the best results. Additionally, using UV stabilisers in your resin mixture can help protect against future discolouration.
Filling the Holes

When filling small holes in resin, it’s important to follow a clear process encompassing preparation, mixing, and application.
First, ensure the area is clean and has a proper texture. Choose the right resin filler and apply it carefully to avoid any excess.
It’s crucial to manage the curing process and minimise bubbles for a smooth, professional finish.
For example, if you’re working on a piece of furniture, a neat application will make all the difference in the final appearance.
Preparation Steps Overview
Before you begin filling holes, it’s crucial to ensure the surface is properly prepared to achieve the best adhesion and durability of the patch. Good preparation improves repair techniques and ensures the patch materials perform optimally.
Follow these steps:
- Clean the area with a solvent to remove dust and contaminants.
- Identify and mark all damaged spots for precise repair.
- Remove damaged material and create a tapered edge around the holes.
- Use temporary backing behind through-holes to contain the filler.
- Always wear safety gear and work in a well-ventilated area to minimise risks.
Mixing and Application Techniques
Mixing and applying resin correctly is crucial for filling small holes effectively, ensuring strong adhesion and durability.
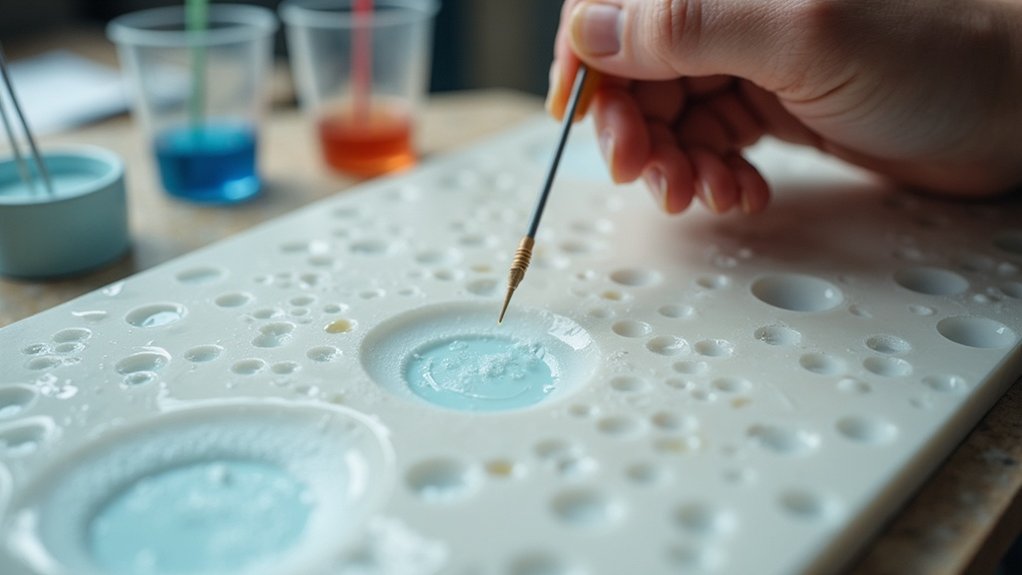
Start by measuring the resin and hardener according to the manufacturer’s instructions, using precise tools for accuracy. Mix slowly and thoroughly to avoid air bubbles; whipping can trap air, which weakens the repair.
Aim for a viscosity that suits hole filling—adjust with additives if needed. Apply a wet coat directly into the hole to ensure full penetration.
For deeper holes, layer the resin, allowing it to partially cure between applications. Be careful not to overfill; the surface should be slightly above the hole level. Use tools to press out excess resin and any trapped air, which helps prevent bubbles.
Curing and Bubble Management
To achieve the best results in curing and managing bubbles when filling small holes with resin, it’s important to grasp the curing process and techniques that reduce bubble formation.
Here are some effective bubble management tips:
- Allow 3 to 5 hours for partial gelation before adding layers to control the flow.
- Use heat guns or small flame torches right after pouring to eliminate bubbles.
- Keep a close eye on the resin during curing to spot any lingering bubbles.
- Pour carefully to take advantage of surface tension for better self-leveling.
- Stick to curing times; allow 24 hours for the resin to become dry to the touch before applying additional layers.
Curing Time and Bubble Removal

Curing time is crucial for both the success of your resin repair and bubble management. Typically, epoxy resin begins hardening in about 8 hours and reaches full strength in 14 days.
During this period, it’s important to implement effective bubble prevention strategies. For instance, mixing the resin slowly and warming it can help minimise air entrapment. Applying the resin in thin layers allows bubbles to escape before setting.
After application, using a heat gun can effectively burst any trapped bubbles. Timing is key; ensure you wait for the initial cure period before sanding or adding further layers to ensure proper adhesion and reduce bubble formation.
Sanding the Filled Area

When sanding the filled area, it’s important to choose the right sandpaper grits for a smooth finish.
Start with coarse grits to tackle any high spots, then progress through medium to fine grits for a seamless surface.
During the final inspection, ensure the transitions between the resin and filler are perfect.
Selecting Sandpaper Grits
Selecting the right sandpaper grit is crucial for sanding resin patches effectively. Start with a coarse grit, usually between 60 and 100, to tackle significant bumps and shape the patch.
Progress through the grits as follows:
- Use 150 to 320 grit to smooth out scratches from the coarse grits.
- Consider wet sanding with 150 to 180 grit for better results.
- Move on to 600 grit to address finer marks and prepare for polishing.
- Ultra-fine grits (1000 to 2000) can be used for a high-gloss finish, though they’re optional.
Always take into account the hardness of the resin and its curing stage to prevent clogging.
Sanding Technique Tips
Once you’ve selected the right sandpaper grits, it’s time to refine your sanding technique, which is crucial for a smooth finish.
Consider using wet sanding to reduce dust and prevent resin from clogging your sandpaper. Lightly spray the filled area with water and apply gentle, even pressure to avoid damaging the surface.
Keep your sanding tool flat to ensure an even result, using a consistent back-and-forth or circular motion. Start with a coarse grit and gradually move to medium and fine grits to seamlessly blend the filled area.
Regularly check your progress in good lighting and adjust your pressure based on the hardness of the resin. This method will help you achieve a flawless finish.
Final Surface Inspection
A thorough final surface inspection is crucial for ensuring the quality and durability of your resin repair. This step involves checking for defects that could compromise the repair’s integrity.
During your inspection, focus on the following criteria:
- Surface smoothness: Ensure the filled area feels level and blends seamlessly with the surrounding surface.
- Colour and texture consistency: Look for a smooth transition between the repair and the original resin.
- No visible defects: Check for any bubbles, cracks, or voids.
- Adhesion: Make sure the patch is securely bonded, with no signs of lifting or peeling.
- Contaminant-free: Ensure the surface is free from dust and debris.
Using tools like magnifying glasses and appropriate lighting will enhance your inspection, helping to achieve a successful repair.
Polishing for a Glossy Finish

To achieve a high-gloss finish on resin surfaces, follow a systematic polishing method using the right compounds and techniques.
Begin with a coarse cutting compound, such as Turtle Wax rubbing compound, paired with a medium or hard foam pad on your polisher. This stage targets surface imperfections using diminishing abrasives. Make around three passes, ensuring the compound fully diminishes each time.
Next, switch to an ultra-gloss polishing compound and use a soft pad. Apply less pressure at a medium speed for two passes to enhance the shine, resulting in a mirror-like gloss.
Finally, buff off any excess compound with a clean, lint-free cloth. By following these straightforward polishing steps, you’ll effortlessly achieve that desired high-gloss finish.
Handling Deep Holes

Handling deep holes in resin requires a careful approach for a proper repair. Follow these steps to effectively tackle different hole sizes:
- Inspect the hole to assess its depth and clean the area thoroughly.
- Seal the back of deeper holes with tape to stop epoxy from leaking through.
- Select the right epoxy, ensuring it’s appropriate for the hole size and material.
- Apply epoxy in layers, using a syringe or dropper for accuracy.
- Allow each layer to cure fully before adding more, keeping an eye out for trapped bubbles.
Safety Precautions

When repairing resin, safety must come first. Always wear the appropriate safety gear, such as nitrile gloves, safety goggles, and a respirator if necessary. Ensure good ventilation; work in areas with plenty of fresh air by using exhaust fans or opening windows to help disperse fumes.
| Safety Gear | Ventilation Practices |
|---|---|
| Nitrile gloves | Work in well-ventilated areas |
| Safety goggles | Use exhaust fans |
| Respirators | Open windows for airflow |
| Long-sleeved clothing | Designate isolated areas |
After working with resin, promptly change out of any contaminated clothing and wash any exposed skin thoroughly. This reduces exposure risks and creates a safer environment when patching small holes in resin.
Specialized Techniques for Repair

When repairing small holes in resin, using the right techniques is essential for a long-lasting and visually appealing result. Here’s a straightforward guide to follow:
- Start by lightly sanding the area around the holes to enhance adhesion.
- Clean the surface with acetone or alcohol to eliminate any contaminants.
- For a robust filler, opt for a two-part epoxy resin.
- If you’re working with fiberglass, consider using thickened polyester resin putty.
- Apply the filler in several thin layers to avoid overheating.
These methods will ensure proper bonding and maintain the structural integrity of your repairs, whether you’re dealing with fiberglass or epoxy.
Frequently Asked Questions
Can I Use Epoxy Resin Instead of Polyester Resin?
Yes, you can use epoxy resin instead of polyester resin. Epoxy has advantages such as better adhesion, flexibility, and resistance to chemicals, making it suitable for demanding applications. However, it’s important to consider the specific needs of your project and the properties of each resin type. For instance, if you’re repairing a boat, epoxy might be the better choice due to its strength and durability.
How Do I Know When the Resin Is Fully Cured?
To determine if your resin is fully cured, check for hardness, clarity, and the absence of stickiness. Follow the recommended curing times; if the surface feels firm and shows no indentations, your resin has cured successfully.
What Can I Do if the Resin Pulls Away From the Hole?
If resin pulls away from a hole, use effective adhesion techniques to rectify the issue. Consider inserting a temporary backing for added support or fill deeper holes gradually. Use hole repair methods, ensuring each layer cures properly to avoid sagging. For instance, if you’re repairing a hole in wood, build it up slowly with resin to maintain a smooth finish.
Is It Possible to Paint Over Cured Resin?
Yes, you can paint over cured resin. To ensure good adhesion, it’s important to sand the surface and apply a primer. Skipping these steps can result in poor paint performance and shorter lifespan. For example, if you’re painting a resin sculpture, a light sand followed by a spray primer will help the paint stick better and look neater.
How Do I Prevent Bubbles When Mixing Resin?
To prevent bubbles when mixing resin, use simple techniques such as stirring slowly with a flat spatula, warming the materials beforehand, and letting the mixture sit after combining. These tips help reduce air entrapment and ensure effective de-gassing, resulting in a smoother finish.
Conclusion
Patching small holes in resin is a simple task that can effectively restore your item’s integrity and look. By following the steps carefully, you’ll ensure a seamless repair that lasts. Take your time with each stage; proper preparation is essential. For instance, if you’re fixing a decorative piece, a clean finish will enhance its overall appeal. With a bit of patience and attention to detail, you can achieve a professional result that elevates your resin project.

Incorporate essential tips for maintaining your resin driveway's longevity and appearance, ensuring it remains a stunning feature of your home. Read more
How to fix discolouration in resin surfaces effectively can restore your project’s beauty, but the right techniques are crucial for Read more

Ineffective maintenance can lead to unsightly scratches on resin surfaces, but with the right techniques, you can keep them looking Read more