
Can I Block Pave My Own Driveway
Yes, you can block pave your own driveway if you’ve got a solid handle on DIY projects and the right tools. First, assess your skills and understand the requirements like sub-base and drainage. You’ll need tools such as a plate compactor, block splitter, and protective gear. Plan your layout carefully, considering proper drainage and aesthetic alignment with your home’s exterior. Use a spirit level and string lines for accuracy, and don’t underestimate the importance of a detailed jointing sand and compaction process. For a successful project, avoiding common pitfalls is essential. There’s more useful guidance and tips that can enhance your project’s success.
Assessing Your DIY Skills
Before initiating the project of block paving your driveway, it’s vital to realistically evaluate your own DIY skills. Starting a task as complex and labour intensive as block paving requires not just enthusiasm but a solid foundation in practical skills and previous DIY experience.
Begin by gauging your proficiency in similar home improvement projects. Have you successfully completed tasks that involve precise measurement, material handling, and machinery operation? These are important indicators of your readiness.
Skill evaluation isn’t just about identifying your capabilities; it’s also about recognizing limitations. Consider the intricate aspects of block paving, such as site preparation, base creation, and alignment. Each step demands meticulous attention to detail and a steady hand. If your experience is limited, or past projects haven’t demanded such specificity, you might face challenges.
Moreover, understanding the theory behind block paving can greatly enhance your execution. Are you familiar with concepts like sub-base requirements, drainage considerations, and load distribution? These technical elements are vital for a durable and aesthetically pleasing driveway.
If you’re not confident in these areas, consider supplementing your knowledge through tutorials or consulting with a professional before proceeding. Evaluating your DIY skills thoroughly guarantees a smoother project flow and prevents costly mistakes.
Given the labour intensive installation required for block paving, it’s crucial to determine if you can handle the physical and technical demands of such an undertaking.
Necessary Tools and Materials
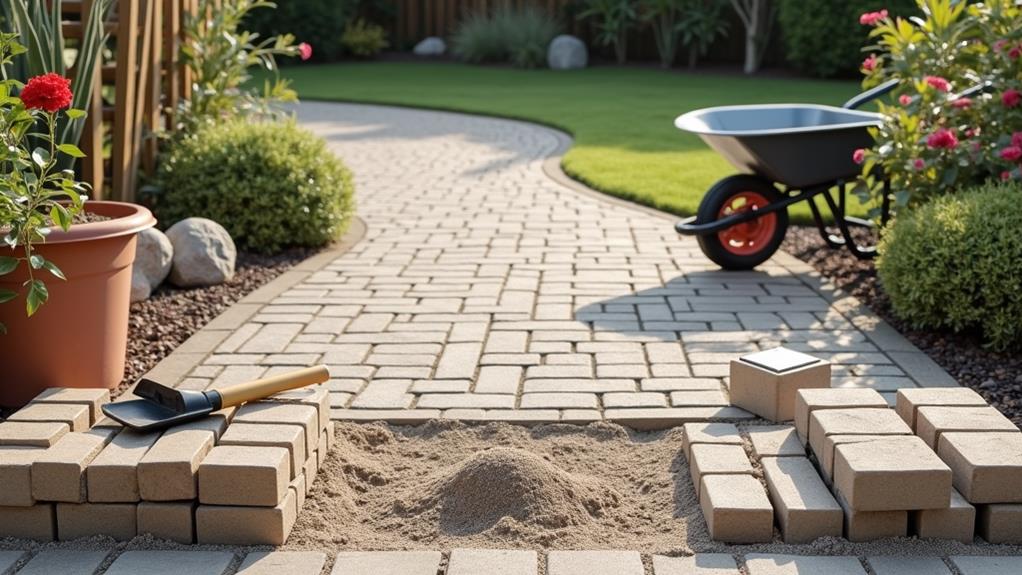
To successfully complete your block paving project, you’ll need to gather specific tools and materials essential for each stage of the process. First and foremost, choosing the right block types is vital. These blocks vary in material, size, and colour, so select ones that match your load requirements and aesthetic preferences.
For surface preparation, a robust plate compactor is indispensable to guarantee a firm and level base. You’ll also require a good-quality shovel and a sturdy wheelbarrow for moving and laying the sub-base material, typically consisting of crushed stone or MOT Type 1. A rake will be useful for spreading these materials evenly.
To achieve precise block placement and alignment, don’t overlook the necessity of string lines and a spirit level. For cutting the blocks to fit edges and corners, invest in a reliable block splitter or a diamond-bladed angle grinder. Safety can’t be overstated, so make sure you have protective gear, including gloves, goggles, and ear protection, especially when operating heavy machinery or cutting tools.
Remember, proper installation techniques are vital to avoid issues like ground movement, which can compromise the driveway’s integrity and appearance. Lastly, you’ll need jointing sand to fill the gaps between the blocks once laid, which helps lock the structure together and provides a smooth finish.
With these tools and materials at hand, you’re set to start your paving endeavour.
Planning and Design Considerations
Why should you meticulously plan your driveway’s layout before beginning construction? Proper planning guarantees the functionality, durability, and aesthetic appeal of your driveway. It involves careful consideration of site preparation and the integration of effective drainage solutions to prevent water accumulation that could undermine the structural integrity of your paved driveway.
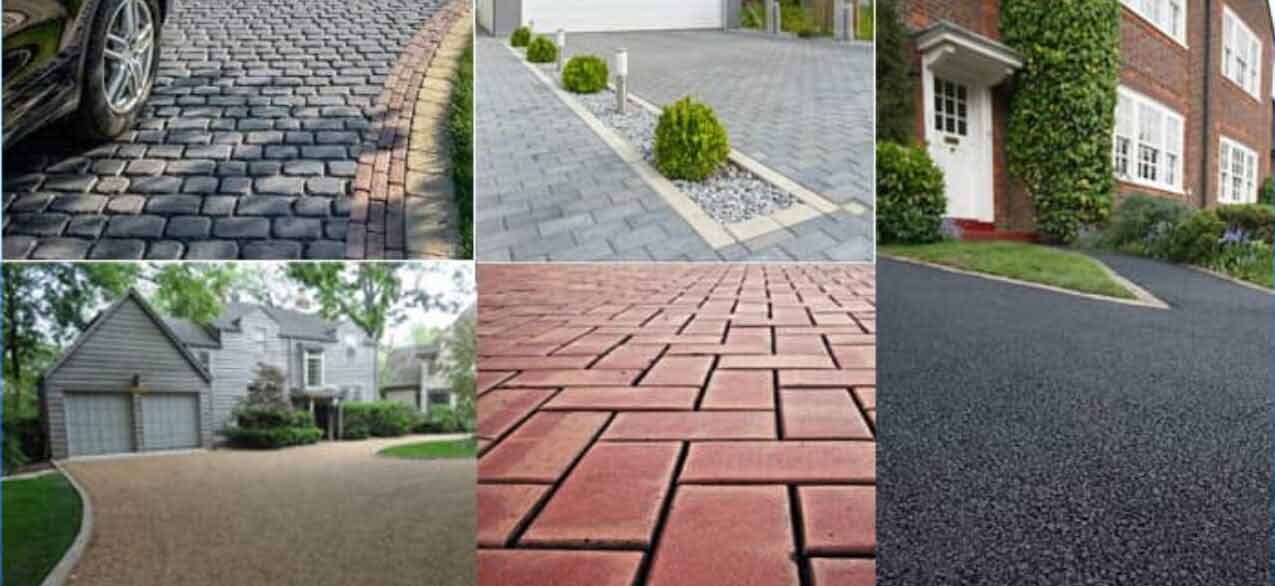
Understanding the variety of driveway materials and their specific requirements is essential in choosing the right one for your project, whether it’s pavers, gravel, or asphalt.
To effectively visualize your project, consider the following elements:
1. Site Layout: Measure the total area intended for paving and mark the boundaries clearly. This initial step is vital for calculating material requirements and organizing the workspace.
Precision in this phase aids in avoiding unnecessary adjustments during construction, which can be costly and time-consuming.
2. Drainage Design: Plan the incline of your driveway (typically 1 in 80). This slope guarantees that water flows towards designated drainage points, preventing pooling and the potential freeze-thaw damage in colder climates.
Incorporate drainage channels or grates strategically to manage water runoff efficiently.
3. Aesthetic Considerations: Choose a block pattern and colour that complement your home’s exterior.
Consider how the pattern will appear on curves or slopes and how it aligns with entry points or landscaping features. A harmonious design enhances curb appeal and property value.
Step-by-Step Block Paving Guide
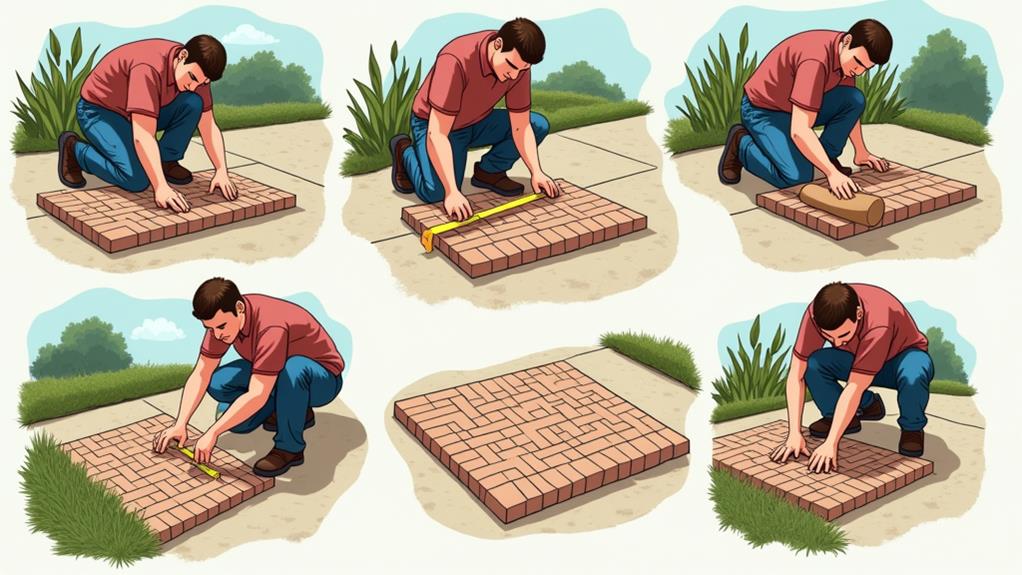
Starting with the base preparation, you’ll guarantee the longevity and stability of your driveway. First, excavate the area to a depth of about 200mm below the intended final surface level. You’ll need to account for 100mm of sub-base material, 40mm of sand, and the thickness of your paving blocks. Compact the soil thoroughly before layering in the sub-base material, which should also be compacted using a plate compactor.
Next, focus on the vital aspect of drainage solutions to prevent water accumulation that can lead to structural issues. Ascertain a slight slope away from buildings, aiming for a gradient of at least 1:80. Install drainage channels if necessary, especially in areas prone to heavy rainfall. This step is essential to manage runoff effectively, securing the longevity of the driveway surface.
For the laying course, use sharp sand, screeding it to a uniform depth of 40mm. Lay the blocks in the desired pattern, leaving about 2-3mm of space between them for jointing sand.
Incorporate edge restraints, which are fundamental to prevent lateral movement of the blocks. Secure them firmly in the laying course material.
After laying the blocks, apply jointing sand and compact the surface again to lock everything in place. This meticulous approach guarantees a durable, professional finish to your block-paved driveway.
Common Mistakes to Avoid
Avoid overlooking the importance of proper base preparation, as this is a frequent and critical mistake when paving your driveway. A well-prepared base guarantees longevity and durability of your pavement.
It’s not just about laying the blocks; the foundation you create below them dictates the quality of the finished surface.
Here are some common pitfalls to steer clear of:
1. Underestimating Material Costs: Often, DIYers fail to accurately calculate the amount of materials needed, leading to unexpected runs to the store and disrupted budgets.
Include a contingency of at least 10% in your initial budget considerations to cover unforeseen expenses.
2. Poor Drainage Planning: Water is a paver’s enemy. Without adequate drainage solutions, water accumulates, undermining the integrity of your driveway.
Guarantee a slight gradient, typically 1:80, for water runoff, and consider integrating permeable materials or built-in drainage pathways to manage water effectively.
3. Skipping Compaction: Compaction isn’t just about strength; it’s about stability. Failing to compact your sub-base adequately can result in an uneven driveway that’s prone to sagging and cracking.
Invest time in compacting layers thoroughly during installation.
Maintenance and Upkeep Tips

Once your driveway is properly installed, regular maintenance guarantees its longevity and aesthetic appeal. Block paving maintenance is essential and involves several precise steps to secure durability and sustain visual quality.
To begin with, you’ll need to regularly sweep your driveway to remove debris and prevent organic material from decomposing between the blocks, which can lead to weed growth and structural issues.
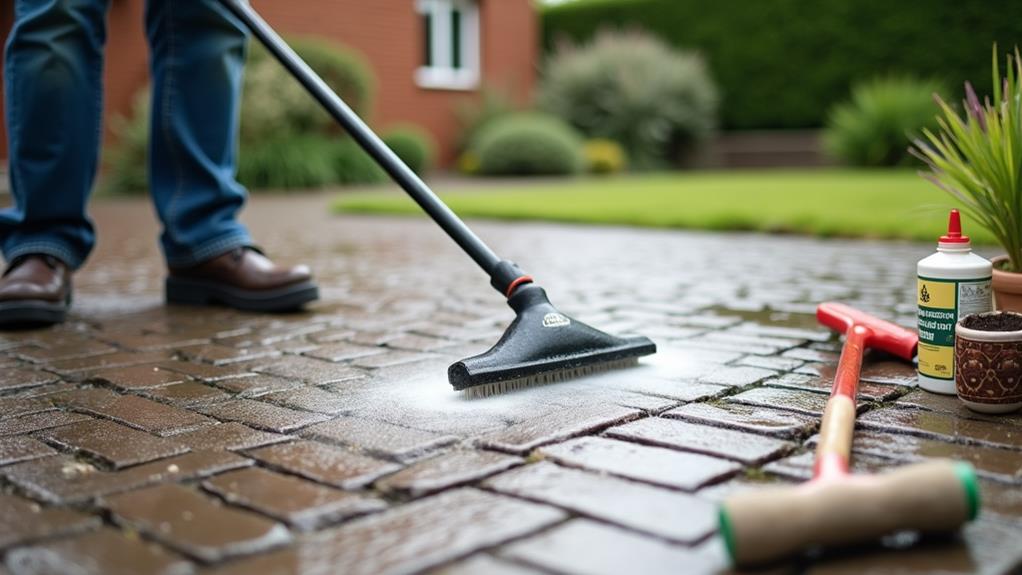
Secondly, it’s important to perform a thorough cleaning annually using a pressure washer. This removes built-up dirt and grime that can stain or damage the paving. However, be cautious with the pressure setting to avoid dislodging the jointing sand.
Additionally, inspect the integrity of the jointing sand. This sand stabilizes the pavers and prevents shifting and water infiltration. If you notice patches where sand has washed away, re-sand these areas promptly. Use a hard-bristled brush to evenly distribute the sand and make sure it settles well into the joints.
Driveway upkeep also includes sealing the block paving. Sealant provides a protective layer that lessens staining and enhances colour. Typically, resealing is recommended every two to three years, depending on exposure to traffic and weather conditions.
Conclusion
You’ve nearly mastered the art of block paving your own driveway. Armed with your newfound arsenal of specialized tools and a labyrinth of design considerations, you’re almost ready to dodge the common blunders that trap the unwary DIYer. Just remember, if your finished driveway looks more like abstract art than a functional surface, you’ve not only crafted a unique conversation starter but also a daily reminder about the joys and perils of home improvement. Happy paving!

The Dilemma of Homeowners One of the most common and frustrating issues that homeowners face is driveway cracks. These cracks Read more

We all have an idea of how we want our driveways to look; whether it's the feel of a smooth Read more
We all know that the driveway is one of the most important features of any home. It sets the tone Read more