

How Do You Install A Flood Light On A Driveway
To install a flood light on your driveway, start by selecting an LED light with a high lumens-to-watt ratio for energy efficiency and adequate brightness. Make certain to gather all necessary tools like a drill, screws, wire connectors, and a voltage tester. Always wear rubber-soled shoes and gloves for safety, and verify the power is turned off at your circuit breaker before beginning. Choose a mounting location at least 9 feet high to deter tampering but under 12 feet to maintain intensity and angle the light downwards to cover the driveway effectively. Secure the bracket using sturdy anchors, wire the light following proper colour codes, and test your installation to adjust for ideal coverage. By following these steps, you’ll guarantee a safe and functional setup while discovering more ways to enhance your outdoor lighting.
Selecting the Right Flood Light
Choosing the right flood light for your driveway is vital for both functionality and safety. When you’re selecting a flood light, focus on energy efficiency and light brightness to guarantee you’re not only enhancing visibility but also improving operational costs.
Energy-efficient models, such as LED lights, are ideal because they consume less power and have a longer lifespan compared to traditional halogen options. This means you’ll save on electricity bills and reduce the frequency of replacements. You should look for lights that offer a high lumens-to-watt ratio, which indicates more brightness for less energy used.
Consider the lumens when evaluating light brightness. A higher lumen count means a brighter light, which is important for covering the extensive area of a driveway. However, it’s essential to balance brightness with your specific needs to avoid excessive glare which can be as hazardous as dim lighting.
Opt for a model that provides a clear, bright light without being overpowering.
Also, pay attention to the beam angle. A wider beam angle can illuminate a larger area, reducing the number of lights you might need. This not only guarantees thorough coverage but also contributes to overall energy efficiency.
Prioritize features like motion sensors or dusk-to-dawn settings for enhanced security and further energy savings. Integrating your flood lights with smart home systems can further enhance convenience and energy management, allowing lights to automatically activate upon your arrival.
Gathering Necessary Tools and Materials
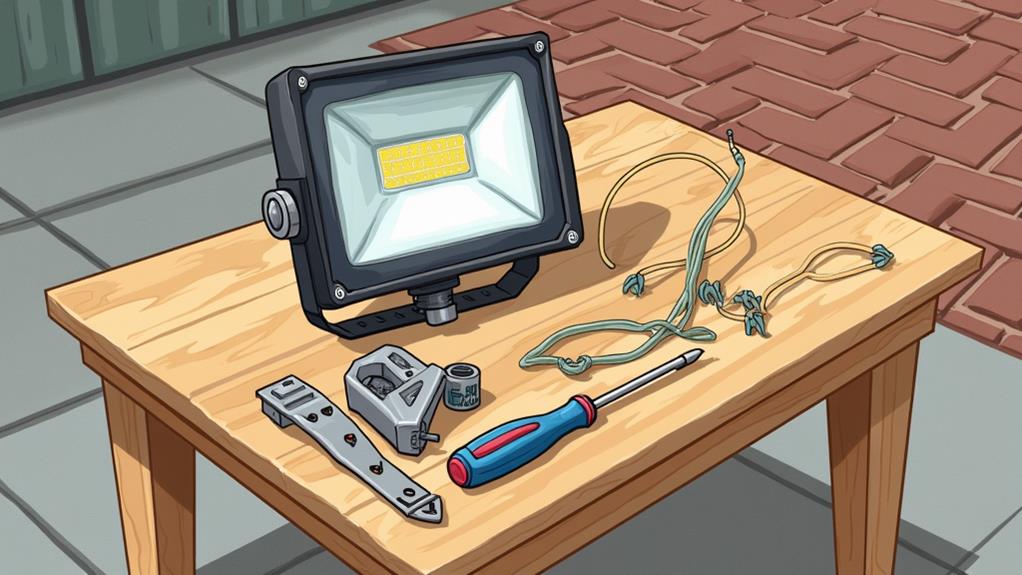
Before you begin installing your flood light, it’s vital to gather all the necessary tools and materials.
You’ll need a ladder that’s sturdy and tall enough to comfortably reach your installation spot. Confirm you’ve got insulated wire strippers, a screwdriver set, and a drill with various bits for different materials—whether you’re drilling into wood, brick, or concrete.
Safety precautions are paramount. Make sure to wear rubber-soled shoes to prevent slips and rubber gloves to protect against electrical shocks. Safety goggles are a must to shield your eyes from debris during drilling.
For the electrical requirements, you’ll need suitable wiring that complies with your local electrical codes. Check if you need a conduit to protect the wires outdoors; this generally depends on whether the wiring will be exposed to the elements.
A voltage tester is essential to verify power is off before you start working on any electrical connections. Additionally, gather wire connectors and a mounting bracket specific to your flood light model.
Choosing the Ideal Location
Identifying the ideal placement for your flood light is vital to enhance its effectiveness and improve your driveway’s security. You’ll want to take into account both the best height and the direction of the light to guarantee maximum coverage and deter potential intruders.
Firstly, the best height for mounting your flood light is paramount. Typically, it should be installed at least 9 feet above the ground. This height prevents tampering and reduces unwanted shadows that could hide movements near the ground.
However, don’t go beyond 12 feet as this can diminish the intensity of the light on the driveway surface, reducing visibility.
Next, focus on the light direction. The aim is to illuminate as much of the driveway as possible without causing light pollution or annoying your nearby residents. Position the flood light so it angles downwards, casting a broad, downward beam across the driveway.
This positioning not only increases the lighted area but also reduces glare which can be blinding for both you and passers by.
Lastly, confirm there are no obstructions like trees or decor that could block the light’s path. Clear visibility is key for both safety and security.
Mounting the Flood Light Bracket
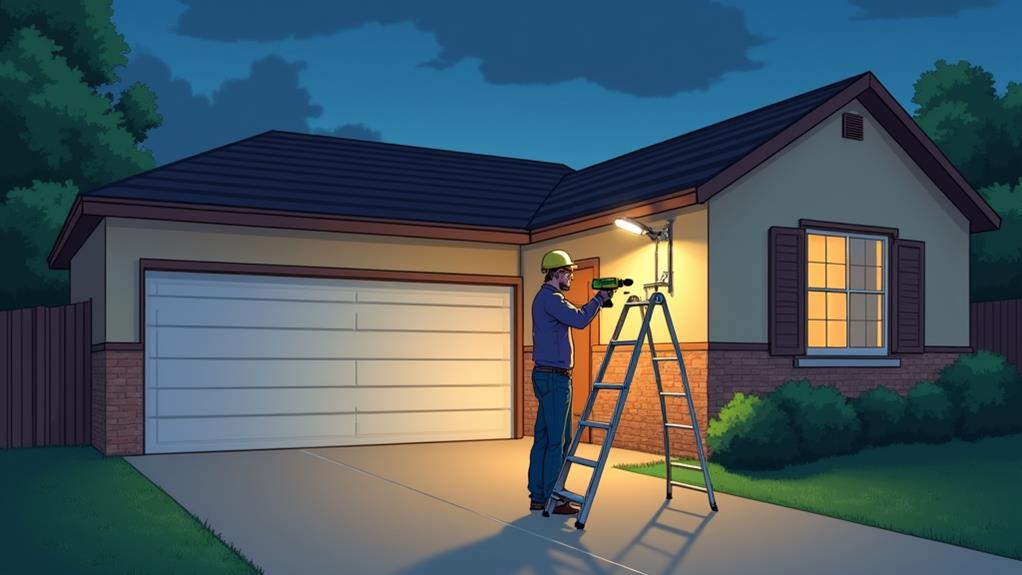
Once you’ve determined the ideal location for your flood light, the next step is mounting the bracket. This stage is important as it supports the entire setup, making sure the light covers the intended areas effectively and safely.
First, consider the mounting height. It’s vital to position the bracket high enough to cast a wide light spread, typically between 8 to 10 feet above the ground. This height enhances the light coverage while keeping the fixture relatively out of reach, improving security.
When selecting the height, also factor in the brightness levels to guarantee excellent visibility without creating glare for drivers or nearby residents.
Next, select the appropriate bracket type for your installation:
- Adjustable brackets: Allow you to tweak the angle and direction of the light, perfect for driveways that require precise lighting adjustments.
- Fixed brackets: Provide a stable and constant position, ideal for areas that need consistent illumination without adjustments.
- Corner brackets: Designed for mounting on external corners, expanding your lighting options and enhancing driveway coverage.
Make certain the bracket is securely fastened to a stable surface using suitable anchors or screws, depending on your wall material.
Double-check all fittings for sturdiness before moving on to the next installation steps, avoiding any potential hazards or future malfunctions.
Wiring the Flood Light
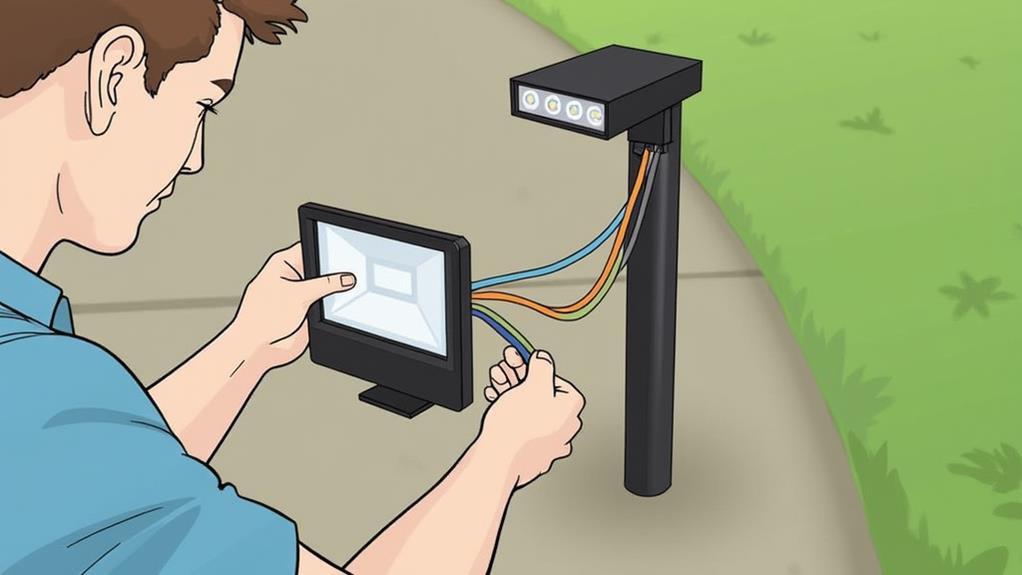
After securing the bracket, you’ll need to focus on properly wiring the flood light to make certain it functions safely and efficiently. First, verify you’ve turned off the power at the circuit breaker to avoid any electrical hazards. You’ll be dealing with live wires, so wiring safety can’t be overstressed.
Identify the wires on your flood light; typically, flood lights have a black (hot), white (neutral), and green or bare copper (ground) wire. Match these with the corresponding wires in your electrical box. If you’re unsure, consulting a wiring diagram specific to your flood light type can be incredibly helpful.
Twist the matching wires together using wire connectors—black to black, white to white, and ground to ground. It’s vital to confirm a firm, secure connection to prevent any potential electrical failures.
After connecting, carefully tuck the wires into the electrical box, ensuring no pinching occurs, which could damage the insulation and expose the wires.
Testing and Adjusting the Light
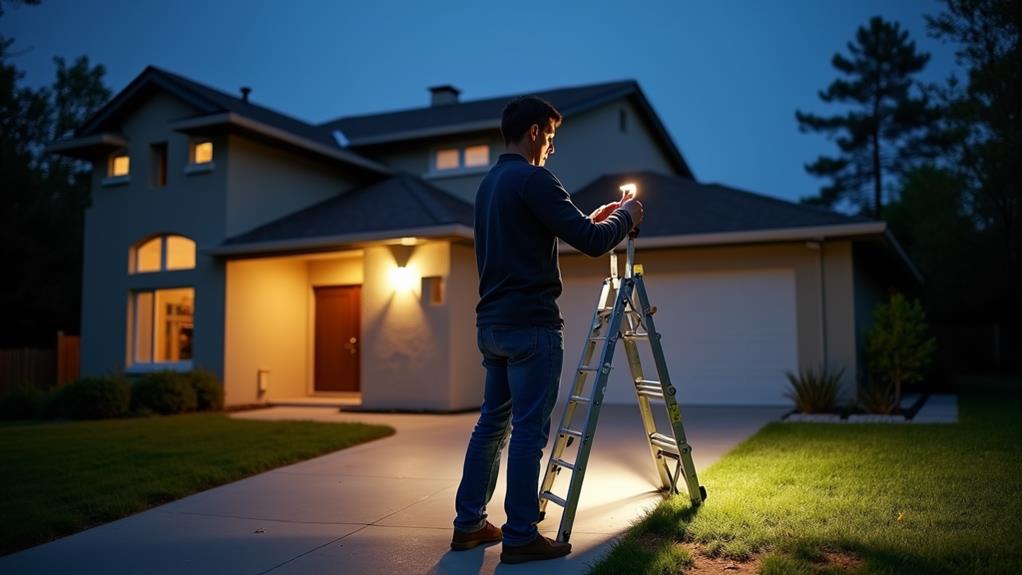
Now that your flood light’s wiring is securely connected, it’s vital to test the installation to confirm it operates correctly and safely. First, power on the light to verify it illuminates. This initial test confirms that the electrical connections are functioning as intended.
Next, you’ll want to adjust the light for peak performance. It’s also important to assess the driveway layout and size before making these adjustments, as this can influence the best placement and angle for your flood lights.
To effectively test and adjust your flood light, consider the following:
- Adjust the Beam Angle: Aim the flood light so that it covers your driveway thoroughly without spilling over into adjacent properties or directly into the street. Position the light at an angle that optimizes coverage while reducing light pollution.
- Check Light Brightness: Evaluate whether the light brightness adequately meets your needs. The flood light should illuminate your driveway enough to enhance visibility and security without being overwhelmingly bright.
- Test with Motion Sensors (if applicable): If your flood light is equipped with motion sensors, walk across the driveway to confirm the sensors trigger the light effectively. Adjust the sensitivity settings if necessary to avoid false alarms or failure to activate.
These adjustments will help you tailor the flood light settings to your specific requirements, confirming safety and efficiency in your driveway lighting.
Conclusion
Now that you’ve installed your flood light, your driveway stands as a beacon of safety, warding off the shadows of the night. Remember to routinely check the connections and keep the lens clean to guarantee optimum performance. Treat this light as your home’s watchful eye; it requires just a bit of attention to stand guard effectively. With your technical prowess, you’ve not only enhanced security but also added value to your home. Drive safe, and shine bright!

The Dilemma of Homeowners One of the most common and frustrating issues that homeowners face is driveway cracks. These cracks Read more

We all have an idea of how we want our driveways to look; whether it's the feel of a smooth Read more
We all know that the driveway is one of the most important features of any home. It sets the tone Read more