
How to Fix Water Pooling on Resin
To resolve water pooling on resin surfaces, start by checking the slope gradient; it should ideally be between 1-2% for proper drainage. Look for any blockages in the drainage system and identify flat areas that may be trapping water. Clean the surface thoroughly and consider applying a water-resistant resin coating. Use strong repair materials, like epoxy, to seal any cracks. Regular maintenance is key—inspect the area every few weeks to prevent future pooling problems. For more solutions to improve your resin installation, explore further options available.
Key Takeaways
- Check the slope gradient; it should ideally be between 1-2% for proper drainage.
- Inspect drainage systems and clear any blockages that could lead to water pooling.
- Clean the affected area and apply water-resistant polyester or epoxy resin to seal any cracks.
- Consider adding extra resin coatings for better water resistance on the surface.
- Carry out regular maintenance checks to catch early signs of pooling and tackle them swiftly.
Understanding the Causes of Water Pooling on Resin Surfaces

When you see water pooling on resin surfaces, it’s important to identify the causes to resolve the issue effectively. One common reason is improper curing; if moisture interferes during this process, it can weaken the bond and lead to pooling later on. Additionally, the permeable nature of resin driveways helps manage water flow, making effective drainage even more crucial.
Environmental factors, like UV exposure, can also wear down the surface over time, reducing its permeability. Additionally, the porous structure of resin bound surfacing is crucial for preventing pooling, as it allows water to filter through effectively.
Moreover, inadequate base preparation or non-compliant sub-bases can result in poor drainage, contributing to standing water. Insufficient slopes or incorrect drainage configurations may further worsen the problem.
Lastly, the build-up of environmental pollutants can obstruct drainage, causing localized flooding. By addressing these issues early on, you can ensure your resin surface remains both functional and visually appealing.
Assessing Your Current Resin Installation

To tackle water pooling issues effectively, begin by checking the slope of your resin surface. Ensure it has a gradient of 1-2% to allow for proper drainage. Then, inspect the drainage system for any blockages or inefficiencies that could hinder water flow away from the surface. Additionally, be mindful of environmental factors that can impact the installation conditions, as they may contribute to the pooling problem if not properly managed. Proper maintenance, such as regular sweeping, can also help in preventing water accumulation.
Inspect Surface Slope
Inspecting the surface slope of your resin installation is essential, as even slight deviations can cause water pooling and lead to long-term damage.
Begin by analysing the slope with an inclinometer or digital level to ensure the angle stays within 5-7 degrees. Look for low points or flat areas that might trap water and hinder drainage. Additionally, consider incorporating slope stabilisation techniques to further enhance the effectiveness of your drainage system. Permeable surfaces, such as gravel driveways, can offer additional options for managing water runoff effectively.
Evaluate the drainage by checking the sub-base for porous materials that allow water to seep through. Conduct a visual inspection for any cracks, depressions, or surface irregularities that could obstruct water runoff.
Mapping tools, such as contour maps, can help you visualise flow patterns and pinpoint areas that require attention.
Maintaining a consistent slope is vital for effective water drainage and ensuring the longevity of your resin surface.
Check Drainage System
Before carrying out any repairs, it’s vital to assess your drainage system. Start by checking the condition of the permeable membrane beneath your resin surface; this layer is crucial for effective drainage and preventing water issues.
Next, examine the angular stones or aggregate under the membrane to ensure they provide sufficient water reservoir capacity.
Inspect the resin concrete drainage channels for correct installation and functionality, as they play a key role in directing surface water runoff.
Lastly, ensure the base layer is compacted properly and meets the recommended thickness.
Don’t forget to check the perimeter edging to make sure it doesn’t obstruct water flow or create pooling.
Addressing these aspects will significantly improve your drainage system’s performance.
Preparing the Base for Resin Application

Preparing a solid base is crucial for effective resin application, as it significantly influences the durability and overall performance of the finished product.
Begin by conducting a thorough inspection of the surface to ensure it’s stable and properly levelled. Look out for any cracks or defects that require repair before proceeding with the resin.
Keep these key points in mind:
- Material Compatibility: Ensure the resin is compatible with the substrate material for optimal adhesion.
- Debris Removal: Clean the surface thoroughly, removing all dust and contaminants to prevent adhesion issues.
- Load-Bearing Capacity: Check that the substrate can withstand the expected loads without deforming.
Importance of Permeable Membranes
Permeable membranes play a vital role in improving water drainage efficiency, which helps prevent damage to resin surfaces.
By allowing water to pass through in a controlled manner, they enhance the durability of your installations, ensuring they stand firm in various weather conditions.
Knowing how these membranes work can significantly enhance your resin application process and its results.
Enhancing Water Drainage Efficiency
Effective water drainage is crucial for any resin surface, and using permeable membranes is key to improving this efficiency. Choosing the right membrane can significantly enhance drainage.
Here are the main benefits of permeable membranes:
- Effective filtration: They prevent debris from entering while allowing water to flow through, reducing the risk of subsurface clogging.
- Long-term durability: Membranes extend the lifespan of the drainage system and lower maintenance requirements.
- Environmental compliance: They help meet Sustainable Drainage Systems (SuDS) standards, promoting eco-friendliness.
Incorporating these membranes not only boosts drainage efficiency but also preserves surface integrity.
For optimal results, ensure proper installation with the right sub-base layers and resin mixes to facilitate smooth water flow, minimising pooling and enhancing longevity.
Preventing Structural Damage
Effective moisture management is crucial to prevent structural damage, and using permeable membranes is a key part of this approach. These membranes allow water to flow through, reducing the build-up that can weaken foundations and lower hydrostatic pressure, thus preventing harmful pooling.
Choosing the right membrane is vital; materials like PTFE and PVDF are both waterproof and chemically resistant.
Proper installation is equally important; membranes must create a continuous barrier against moisture. This involves preparing surfaces correctly and layering membranes at critical junctions.
When done right, permeable membranes safeguard against corrosion, rot, and mould, significantly extending the life of structures while ensuring a healthy indoor environment.
Prioritising these factors is essential for protecting your investment from water-related structural risks.
Supporting Surface Longevity
Incorporating permeable membranes into your resin surfaces significantly boosts their longevity and structural integrity.
These membranes offer key benefits that enhance durability. Here are the main advantages:
- Prevent water pooling, which reduces mud and debris buildup.
- Minimise freeze-thaw damage by allowing moisture to escape.
- Channel water away from the structural base, protecting against hydrostatic pressure.
With permeable membranes, your surfaces remain cleaner and require less maintenance, improving their appearance and durability.
They also help prevent algae growth, reducing slip hazards.
Achieving Proper Slope During Installation
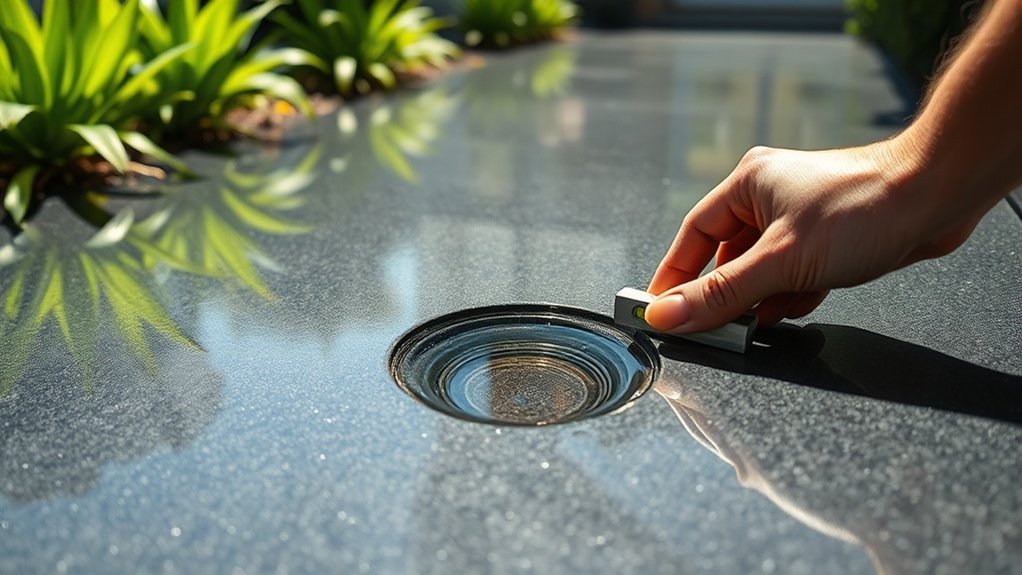
Achieving the proper slope during installation is crucial for preventing water pooling on resin surfaces, ensuring effective water runoff. Aim for a slope gradient between 1:12 and 1:40 for a gentle incline.
Start with a well-prepared sub-base by laying a mechanically compacted foundation using MOT Type 1 roadstone. This solid base supports the slope and prevents settling. Use a whacker plate to achieve the desired levels and gradients, and mark out levels accurately to ensure consistency across the area.
Incorporate drainage solutions, like channels, into your slope plan to manage water effectively. By focusing on these details, you’ll create a durable surface that directs water away and extends its lifespan.
Cleaning and Maintaining Resin Surfaces

To keep your resin surfaces in top shape, regularly check for any signs of wear or damage.
Use mild soap and warm water for cleaning to preserve their look and functionality.
It’s also wise to apply a protective sealant to boost durability and guard against stains from the environment.
Regular Surface Inspections
Regular surface inspections are crucial for preserving the integrity of resin surfaces and preventing water accumulation. Aim to carry out inspections every 2 to 3 weeks in moderate climates, increasing to weekly in wet or high-traffic areas. Following heavy storms or downpours, immediate inspections are essential.
Here are some key practices to consider:
- Set up a regular inspection schedule to ensure consistency.
- Keep a record of each inspection, noting the date, conditions, and findings for future reference.
- Use bright lighting and moisture meters to help spot potential issues.
Effective Cleaning Techniques
To keep resin surfaces looking their best, it’s essential to use the right cleaning techniques.
Begin by sweeping regularly with a stiff-bristled broom to remove debris and prevent staining. Following this, hose down the surface to restore its shine.
For a more thorough clean, use warm water mixed with a mild detergent—steer clear of harsh chemicals that might damage the finish. Rubbing alcohol is excellent for sanitising and removing oils, while acetone can help with uncured resin, but use it sparingly.
After washing, dry the surface to avoid water spots. Finally, use cleaning products specifically designed for resin surfaces to maintain their gloss and check for any imperfections.
Regular cleaning not only improves appearance but also helps prevent water pooling from clogged pores.
Protective Sealing Practices
Effective cleaning techniques are essential for successful protective sealing on resin surfaces. To protect your resin effectively, consider these sealant types and application methods:
- Epoxy seal coats bond well to porous surfaces, creating a strong barrier.
- Acrylic spray sealers offer quick and even protection while reducing the risk of wrinkles.
- Mod Podge glue is a versatile sealer that dries clear and quickly.
For optimal results, apply thin, even layers using a soft brush or spray, allowing 15-20 minutes of drying time between coats.
Always test sealant absorption on a scrap piece first, and remember to seal both sides of porous materials to prevent resin absorption and dark patches.
Regular maintenance will help keep your resin surfaces free from water pooling.
Evaluating Drainage Systems Under Resin
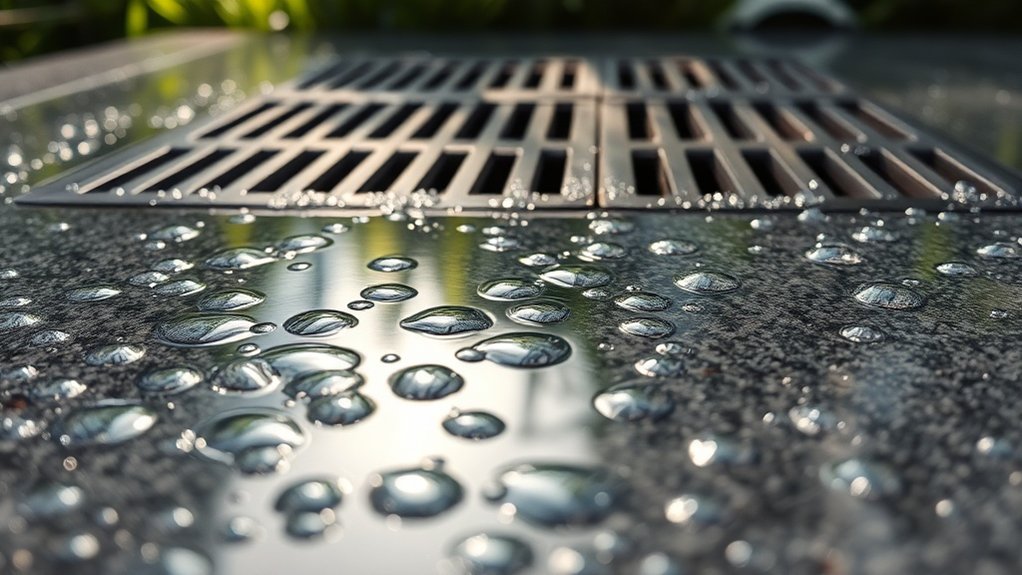
When assessing drainage systems for resin flooring, it’s crucial to ensure compatibility and maintain design integrity.
Opt for stainless steel drainage systems due to their durability and hygiene benefits. Ensure your drainage design includes proper connections to reduce the risk of shrinkage and separation as the substrate ages.
Pay close attention to the drainage edges; they should have specific profiles designed to withstand thermal shock and impacts from equipment. Use detailed architectural drawings to specify the right terminations and achieve seamless finishes.
Make sure drainage components are installed with a tight seal to prevent leaks. Always consult manufacturers to ensure system compatibility with your specific site conditions.
Additionally, engineer a slope of 1-2% towards the drains to facilitate effective water evacuation and avoid pooling.
Repairing Existing Water Pooling Issues

Even after ensuring your drainage systems are properly assessed and installed, you might still encounter water pooling on your resin surface.
Here’s a straightforward approach to tackle the issue:
- Clean the Area: Remove any dirt, debris, and previous unsuccessful repairs to ensure a clean base.
- Fill Cracks: Inject a water-resistant polyester or epoxy resin into any cracks to ensure a watertight seal.
- Cure Properly: Allow sufficient time for the resin to cure for optimal durability.
Once you’ve made the repairs, consider applying additional resin coatings for enhanced water resistance.
Regular inspections and maintenance are crucial to spot early signs of pooling before they worsen.
Selecting the Right Materials for Repairs
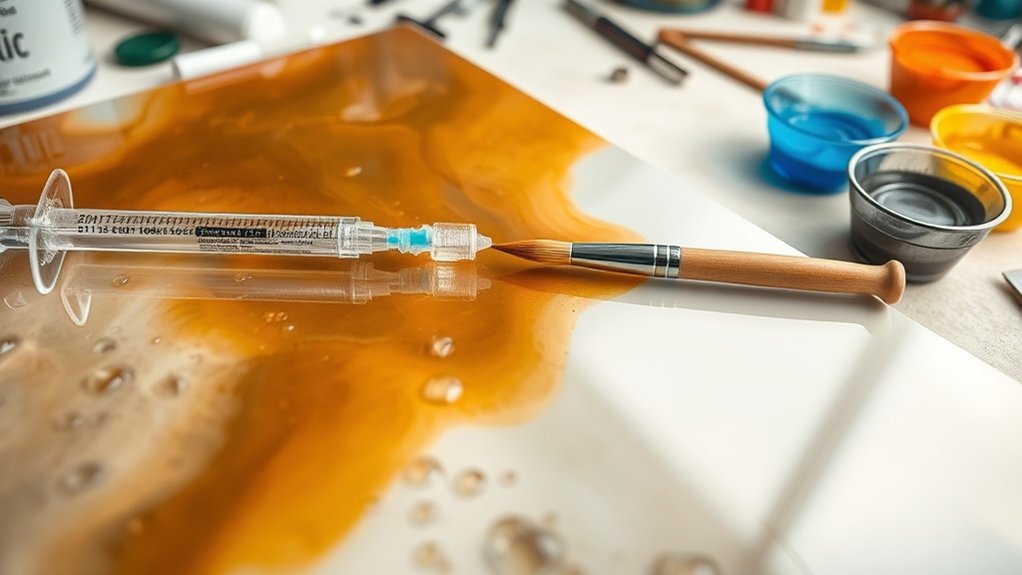
Choosing the right materials for repairing water pooling on resin surfaces is crucial for a lasting solution. Consider the different types of resin and their specific properties to ensure effective repairs.
| Resin Type | Key Characteristics |
|---|---|
| Polyester Resin | Strong, waterproof, good adhesion |
| Epoxy Resin | Excellent adhesion, quick curing, suitable for underwater use |
| Polyurethane Foam | Expands with water, provides a temporary elastic seal |
| Acrylate Injection | Permanent seal, ideal for high-pressure situations |
| Hydrophilic Polyurethane | Expands in water, creates flexible plugs |
When evaluating repair techniques, think about surface compatibility, exposure to water, and structural requirements. Choosing the right resin will enhance durability and help prevent future pooling.
Techniques for Fixing Resin Surface Defects

Addressing resin surface defects needs a systematic approach to ensure effective repairs and maintain the integrity of the material.
Start with proper surface preparation for good adhesion. Here are some techniques to consider:
- Filling Techniques: Use epoxy resin mixed with fillers to fill in scratches or voids. Allow it to cure completely before sanding it down.
- Patch Repairs: For larger defects, apply resin overlays. Clean the surface first, and consider taper sanding to create a smooth transition.
- Recoating: Use ultra-thin coats of resin to hide minor imperfections, curing each layer fully in a dust-free environment.
Preventative Maintenance Tips
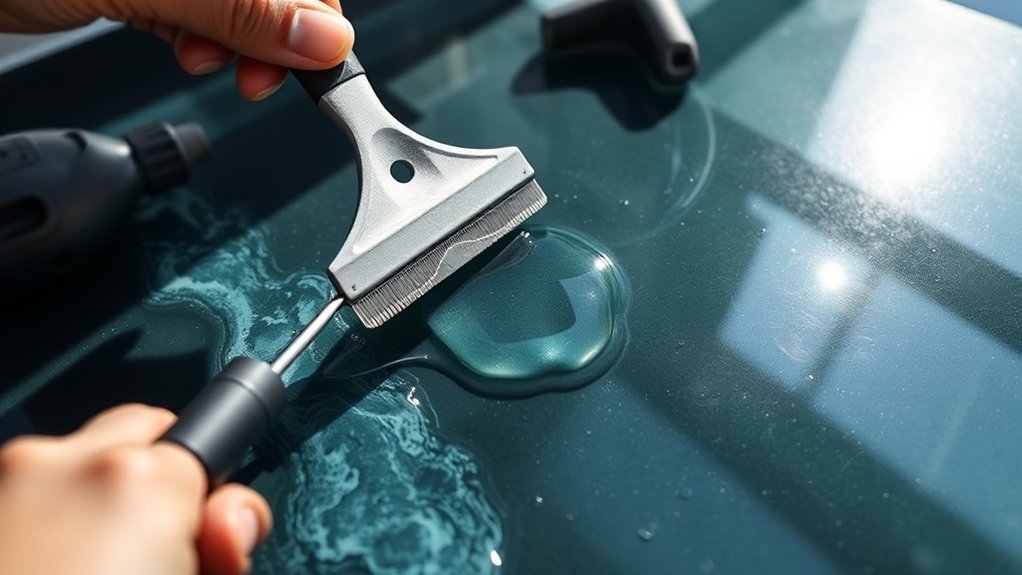
To prevent water pooling on resin surfaces, it’s essential to follow a regular maintenance routine.
Schedule annual or bi-annual inspections of your drainage system to spot blockages and sediment that could weaken the resin. Clear debris from drain grates and downspouts every three months to ensure water flows freely.
Regularly check the slope of your resin surface to aid proper runoff. For upkeep, rinse the resin with cold water often and give it a thorough clean with mild soap after heavy rain.
Address any minor damage promptly, and keep a record of changes to help you plan future maintenance.
When to Consult Professionals for Repairs

When water pools on your resin surfaces and your attempts to drain and dry it aren’t working, it’s important to know when to call in the professionals.
Look out for these signs that indicate it’s time to seek expert help:
- Significant pooling that refuses to go away
- Visible structural damage, such as warping or cracking
- Ongoing mould growth even after cleaning
Ignoring these signs can lead to serious water damage.
Qualified specialists can provide targeted solutions, using professional tools for dehumidification and restoration. They also ensure compliance with health regulations, which is crucial for your safety.
Don’t wait for the situation to worsen; getting professional help early can save you from expensive repairs down the line.
Frequently Asked Questions
Can I Use Regular Paint on Resin Surfaces?
You can use standard paint on resin surfaces, but it’s essential to prepare the surface properly. First, clean and sand the resin. Then, apply a suitable primer to ensure good adhesion and durability. Always test for compatibility before you start.
How Long Does Resin Take to Cure Completely?
The complete curing time of resin can vary depending on the type and the conditions in which it cures. Generally, you can expect it to take anywhere from 24 hours to several days. It’s important to maintain optimal temperatures and humidity, as these factors significantly affect the curing process. For example, if you’re working in a cold, damp environment, it may take longer for the resin to set properly.
What Is the Lifespan of Resin Surfaces?
Resin surfaces generally last between 15 to 30 years, depending on the quality of the resin and how well they’re maintained. To extend their lifespan, ensure proper installation, use high-quality materials, and carry out regular cleaning and repairs. For instance, a well-maintained resin patio can serve you well for decades, while neglect may lead to quicker deterioration.
Are Resin Surfaces Safe for Pets?
Did you know that resin floors can last over 15 years? They are safe for pets, as there is no resin toxicity once cured. The seamless design and antimicrobial properties help keep your home hygienic, reducing allergens and creating a safer environment for your furry friends.
How Do Temperature Changes Affect Resin Installation?
Temperature fluctuations can affect the adhesion of resin, resulting in incomplete curing or surface imperfections. To achieve the best results, it’s essential to maintain stable temperatures during installation. Rapid temperature changes can lead to problems like bubbling or cracking, so keeping conditions consistent is key.
Conclusion
In the realm of resin surfaces, water pooling indicates underlying issues that need addressing. To fix this, ensure proper installation and use suitable materials. Regular maintenance is essential to prevent future problems. If water continues to accumulate, it’s wise to seek professional help. With the right approach, you can maintain your resin surface, keeping it strong and appealing, much like a clear sky after a downpour.

Incorporate essential tips for maintaining your resin driveway's longevity and appearance, ensuring it remains a stunning feature of your home. Read more

Avoid costly repairs by learning essential tips for fixing drainage issues with resin driveways that can transform your outdoor space Read more
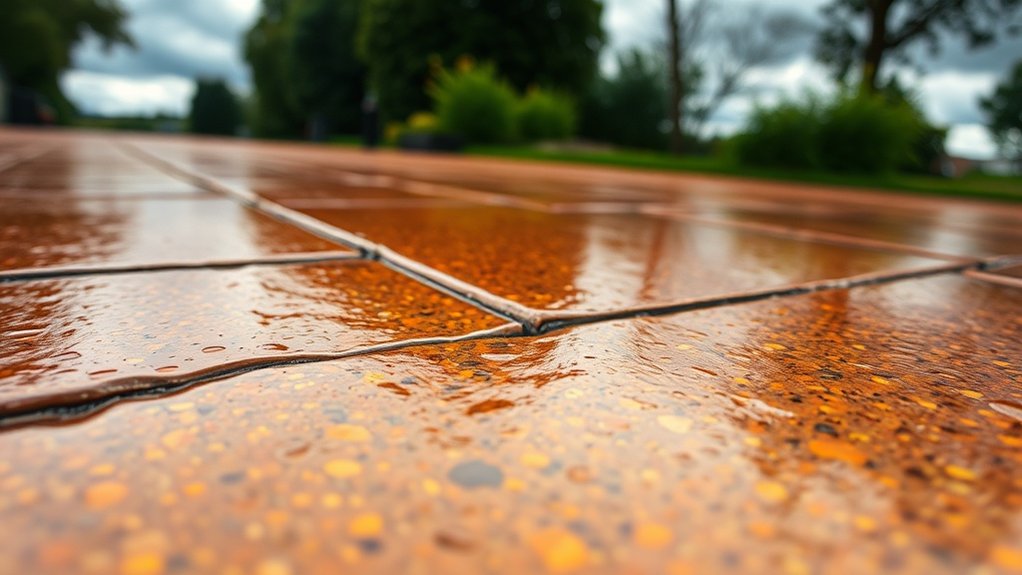
Proper installation and maintenance can prevent cracking in resin driveways, but what challenges does Nottingham's climate pose? Discover the key Read more